

Screenshot Gallery#
This gallery showcases the NexusLIMS-CDCS web interface, demonstrating key features and workflows.
Tip
Click any image to view it at full size.
Homepage#
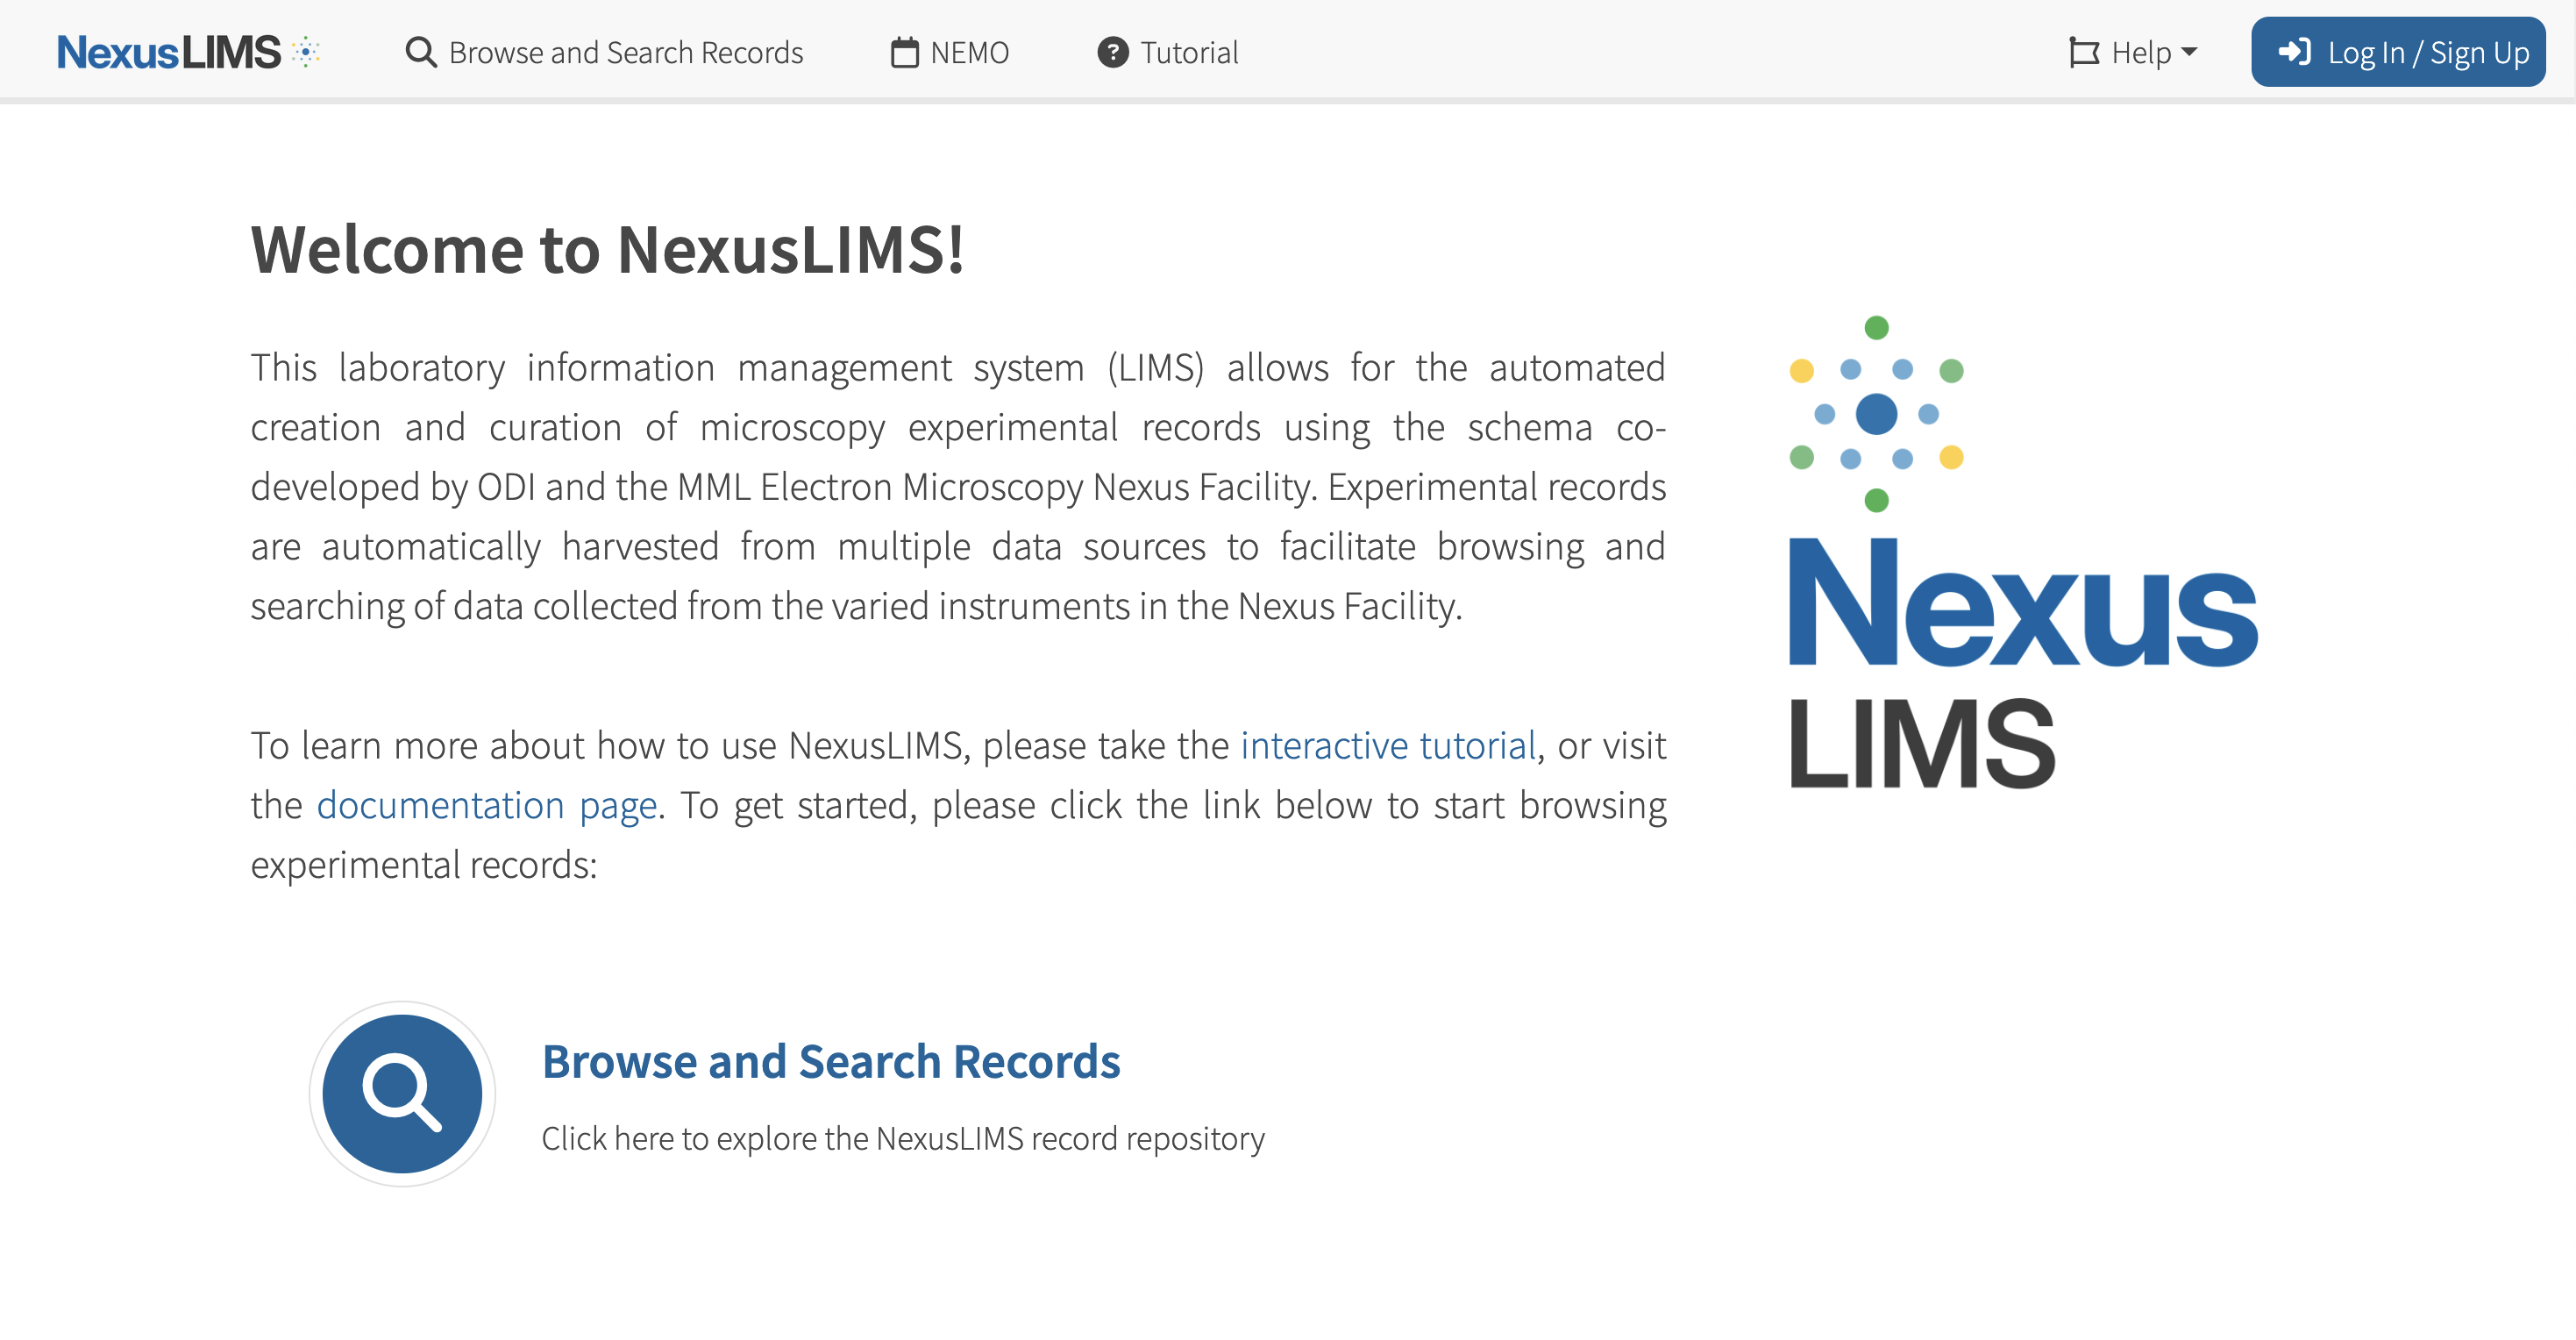
The main homepage welcomes users and provides a link to further explore records.#
Searching Records#
Explore page#
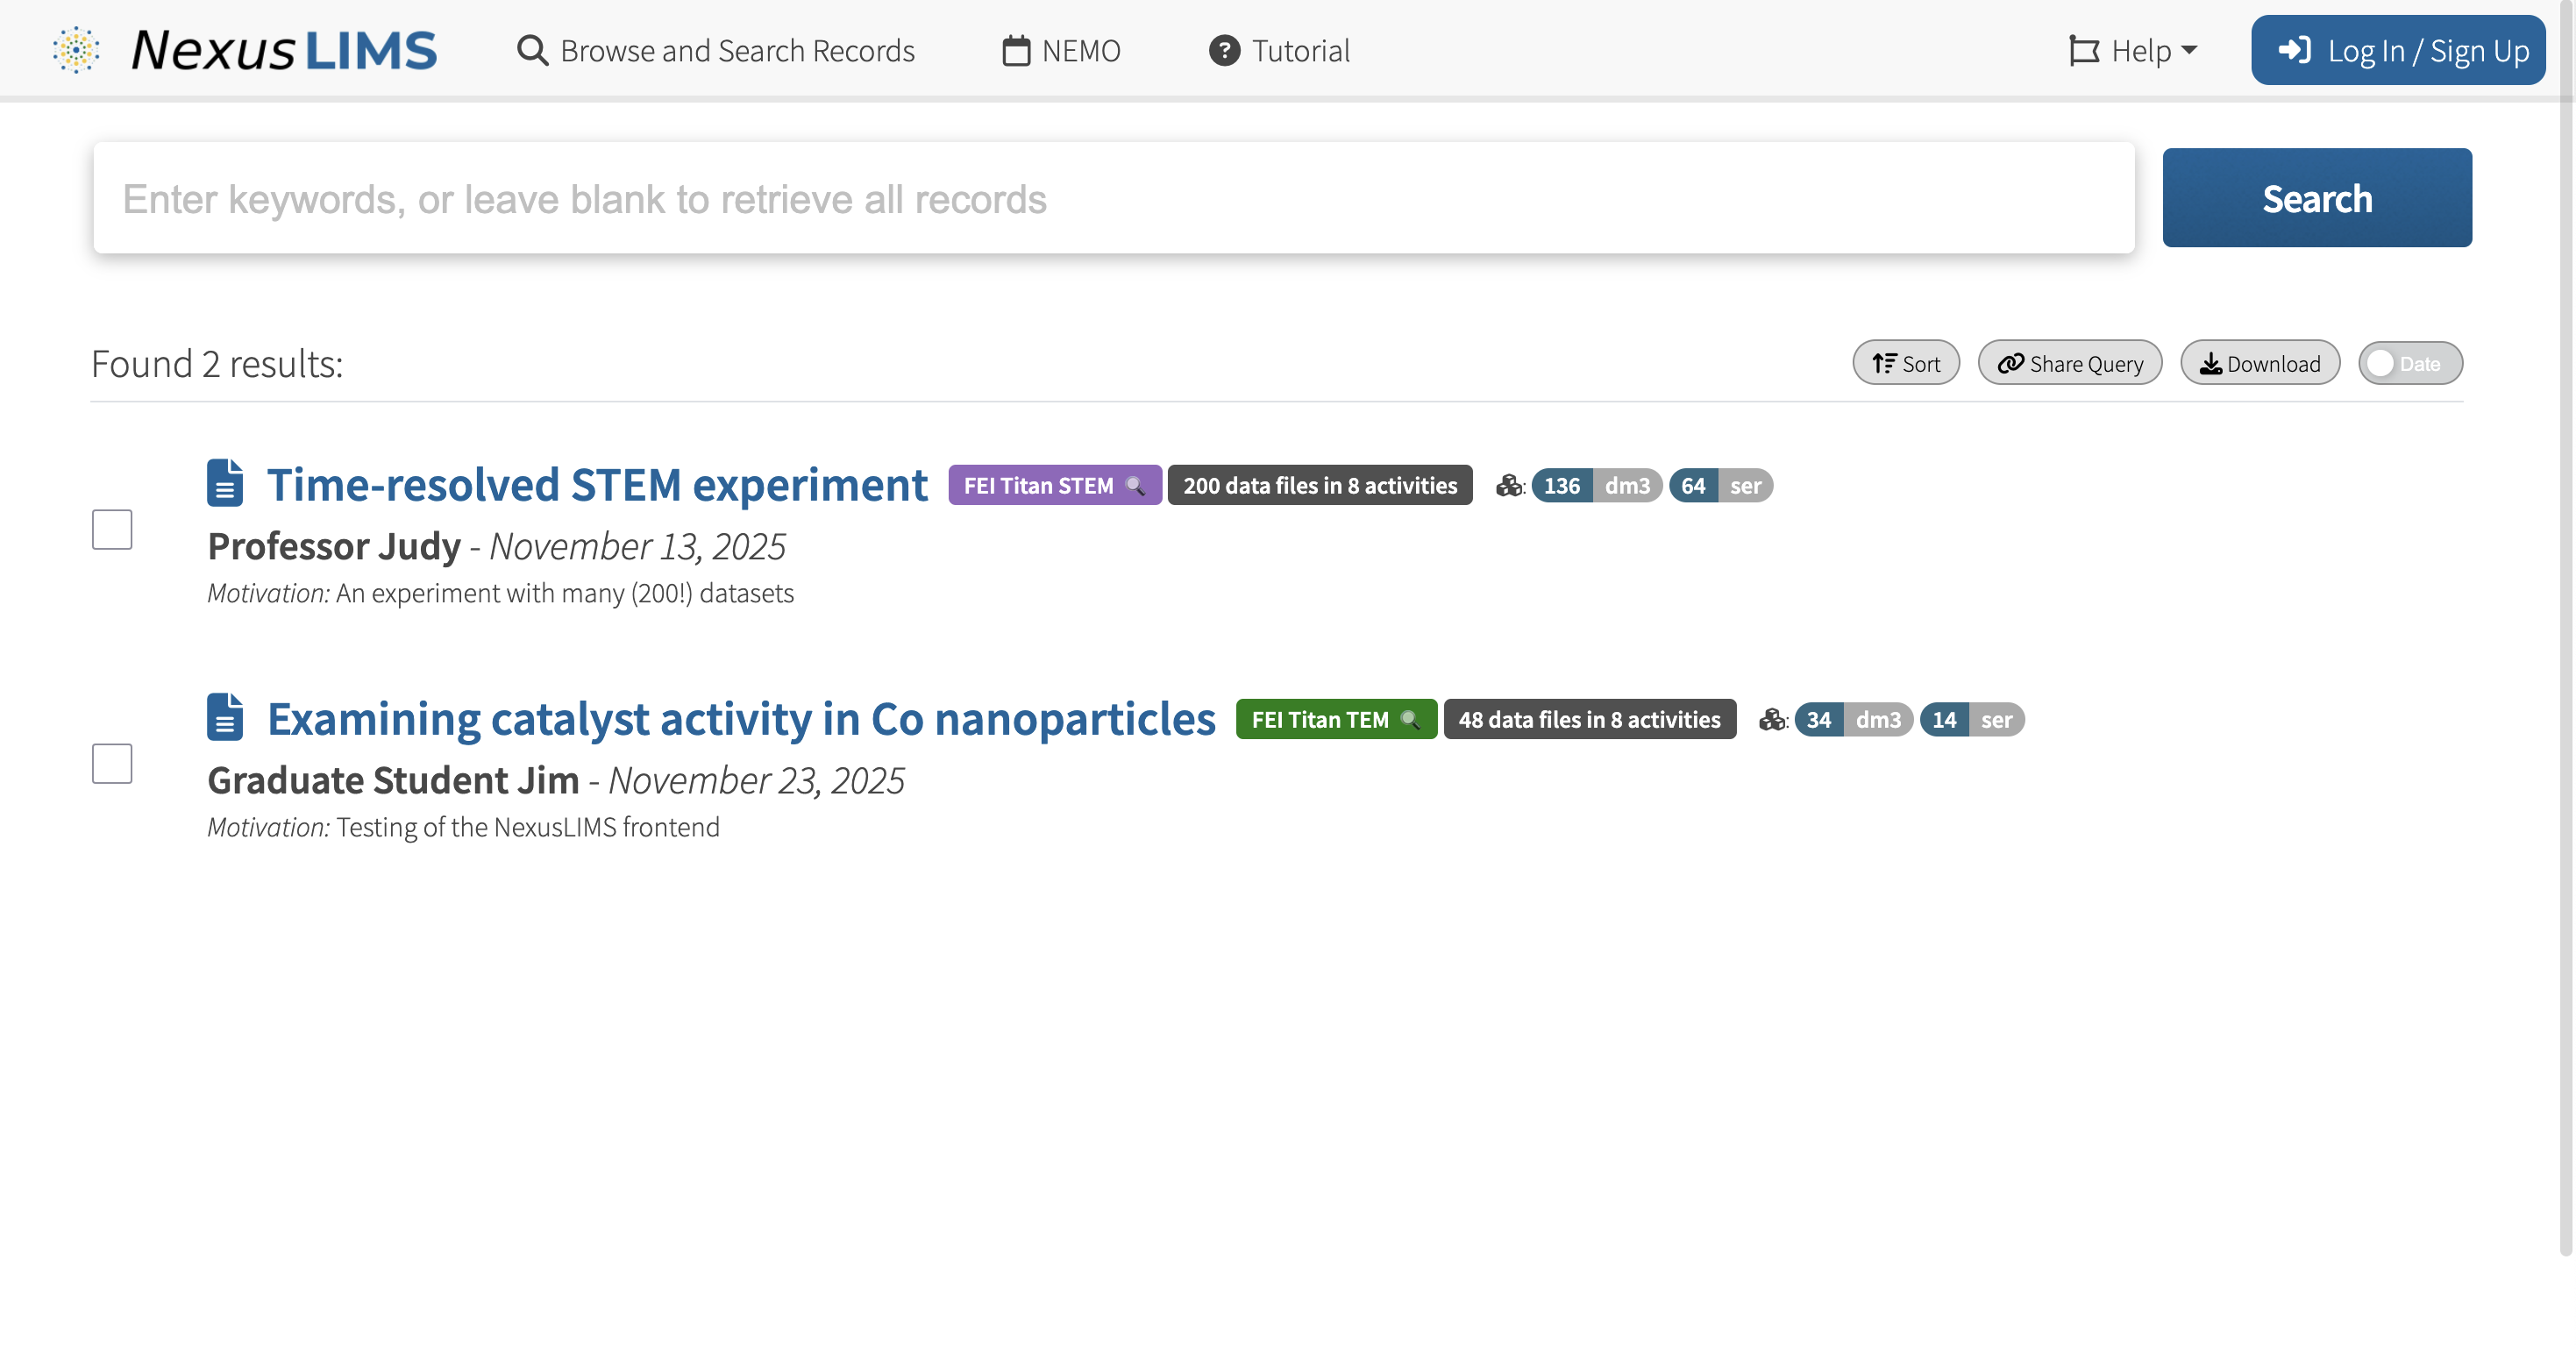
The explore page shows all records in the system by default.#
Keyword Search#
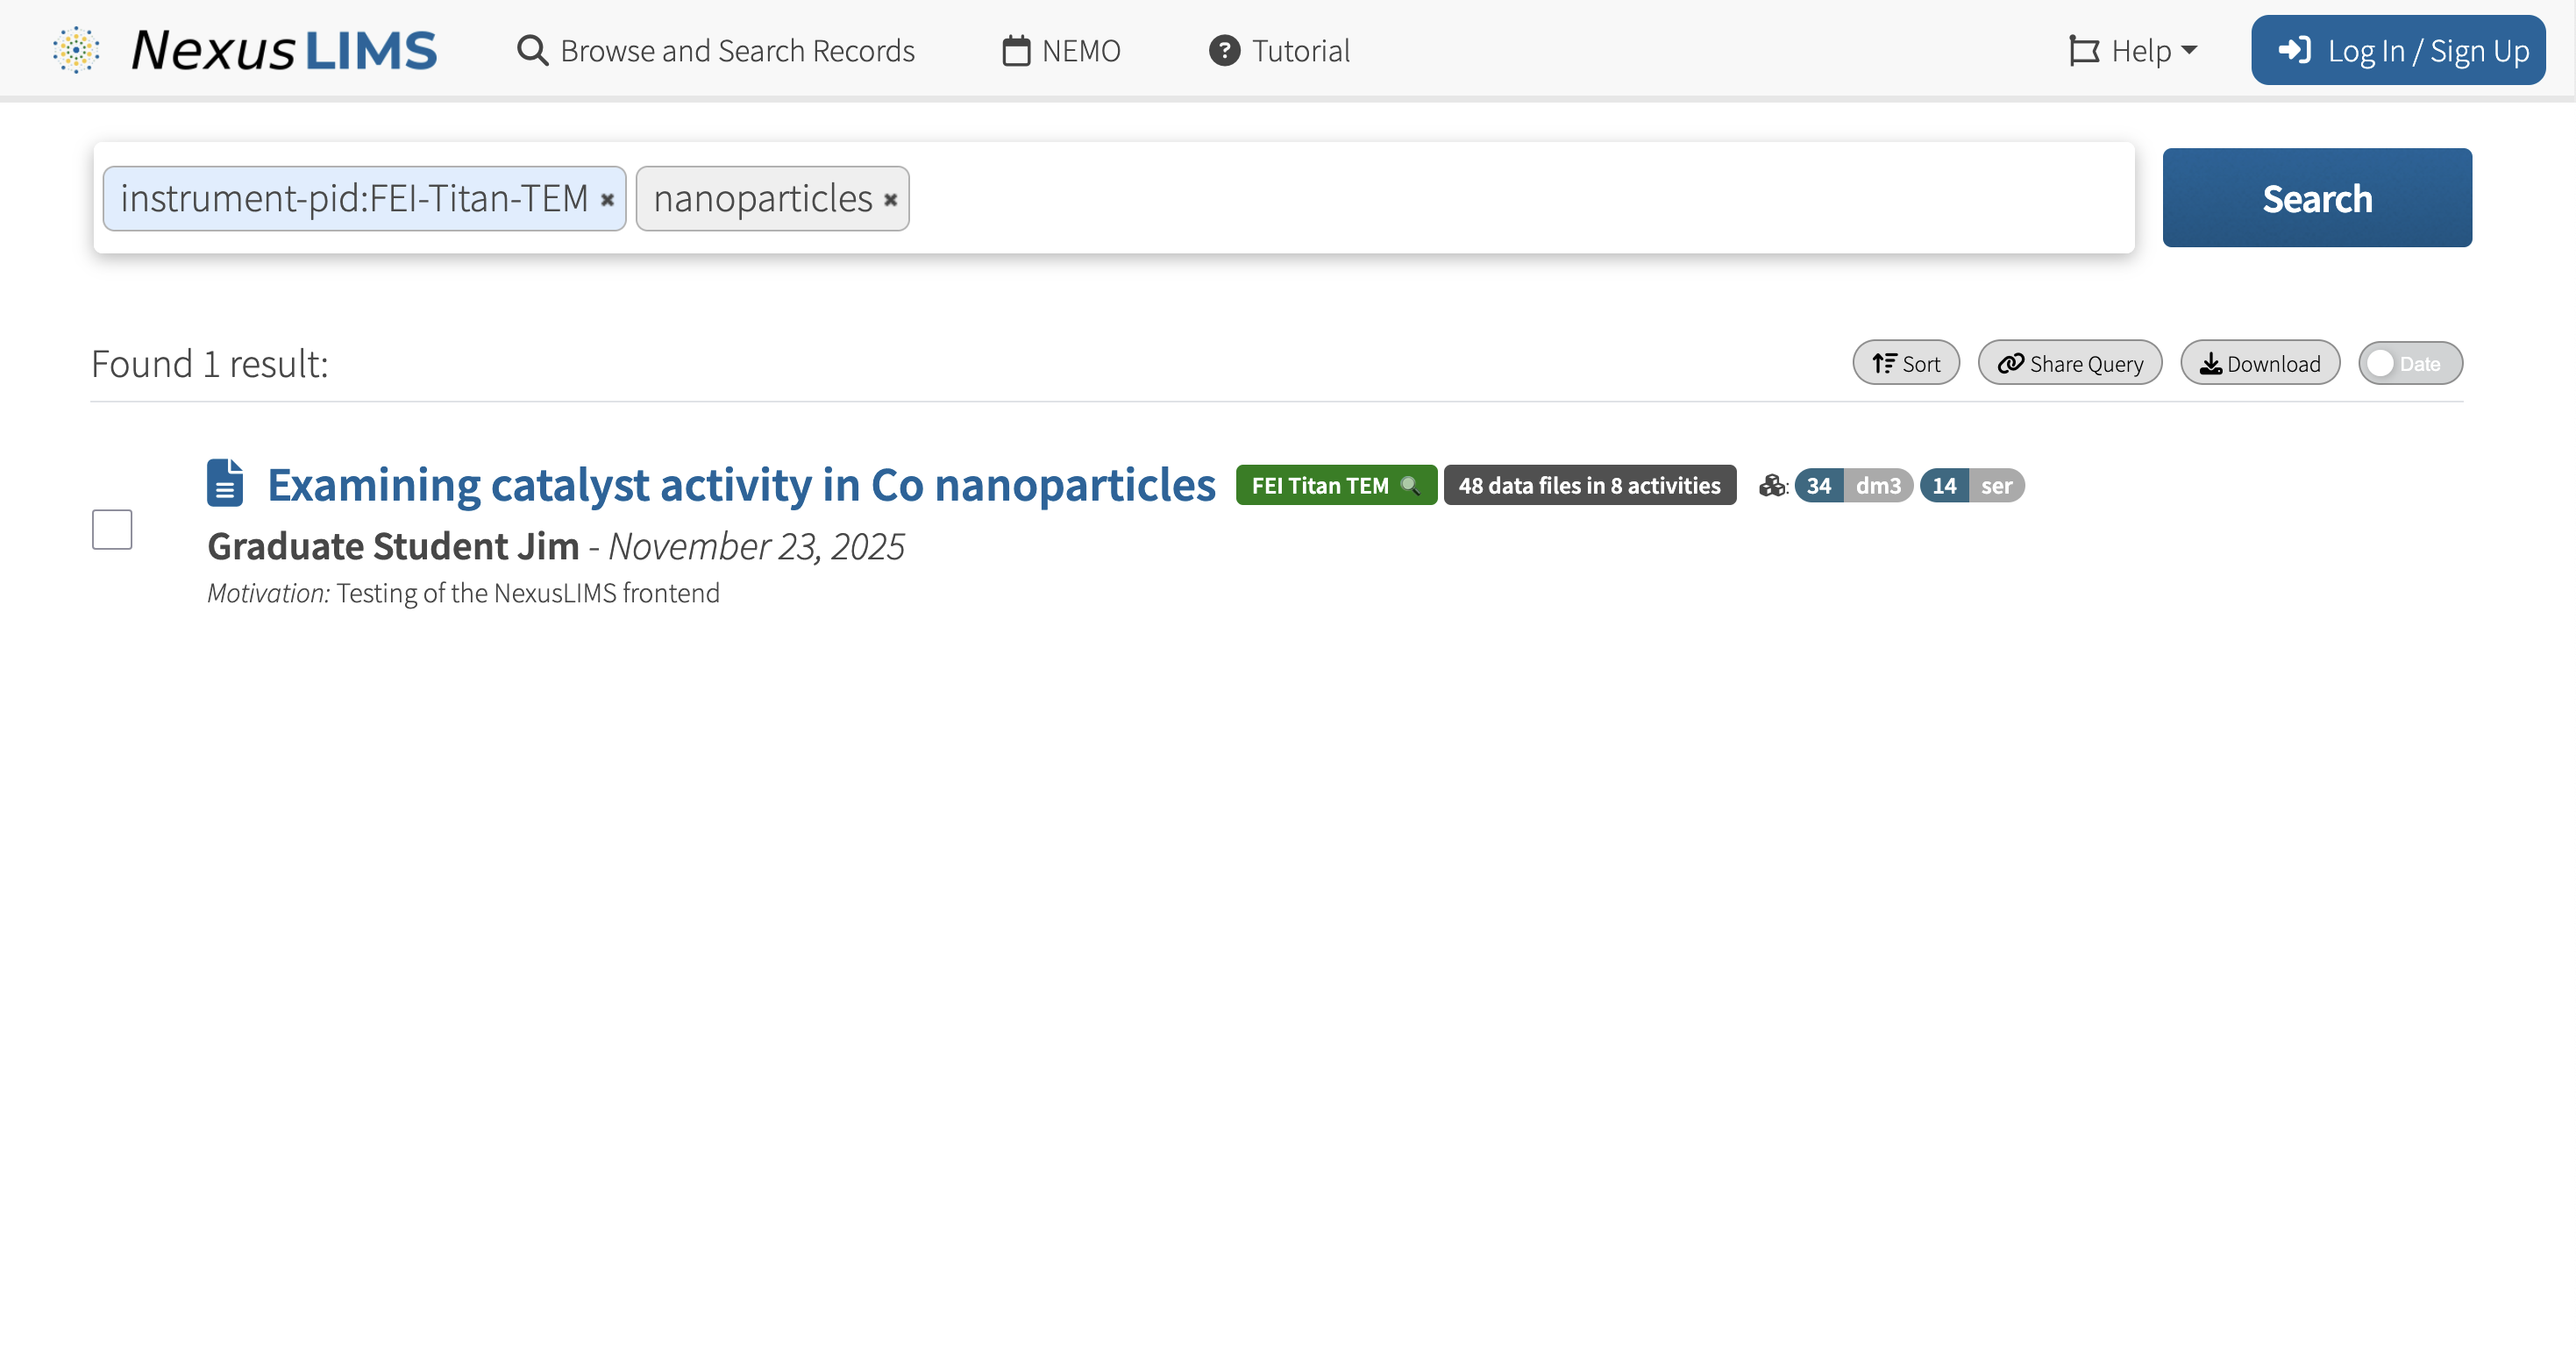
The search bar provides full-text keyword search across all experimental records.#
Viewing Records#
Record Detail View#
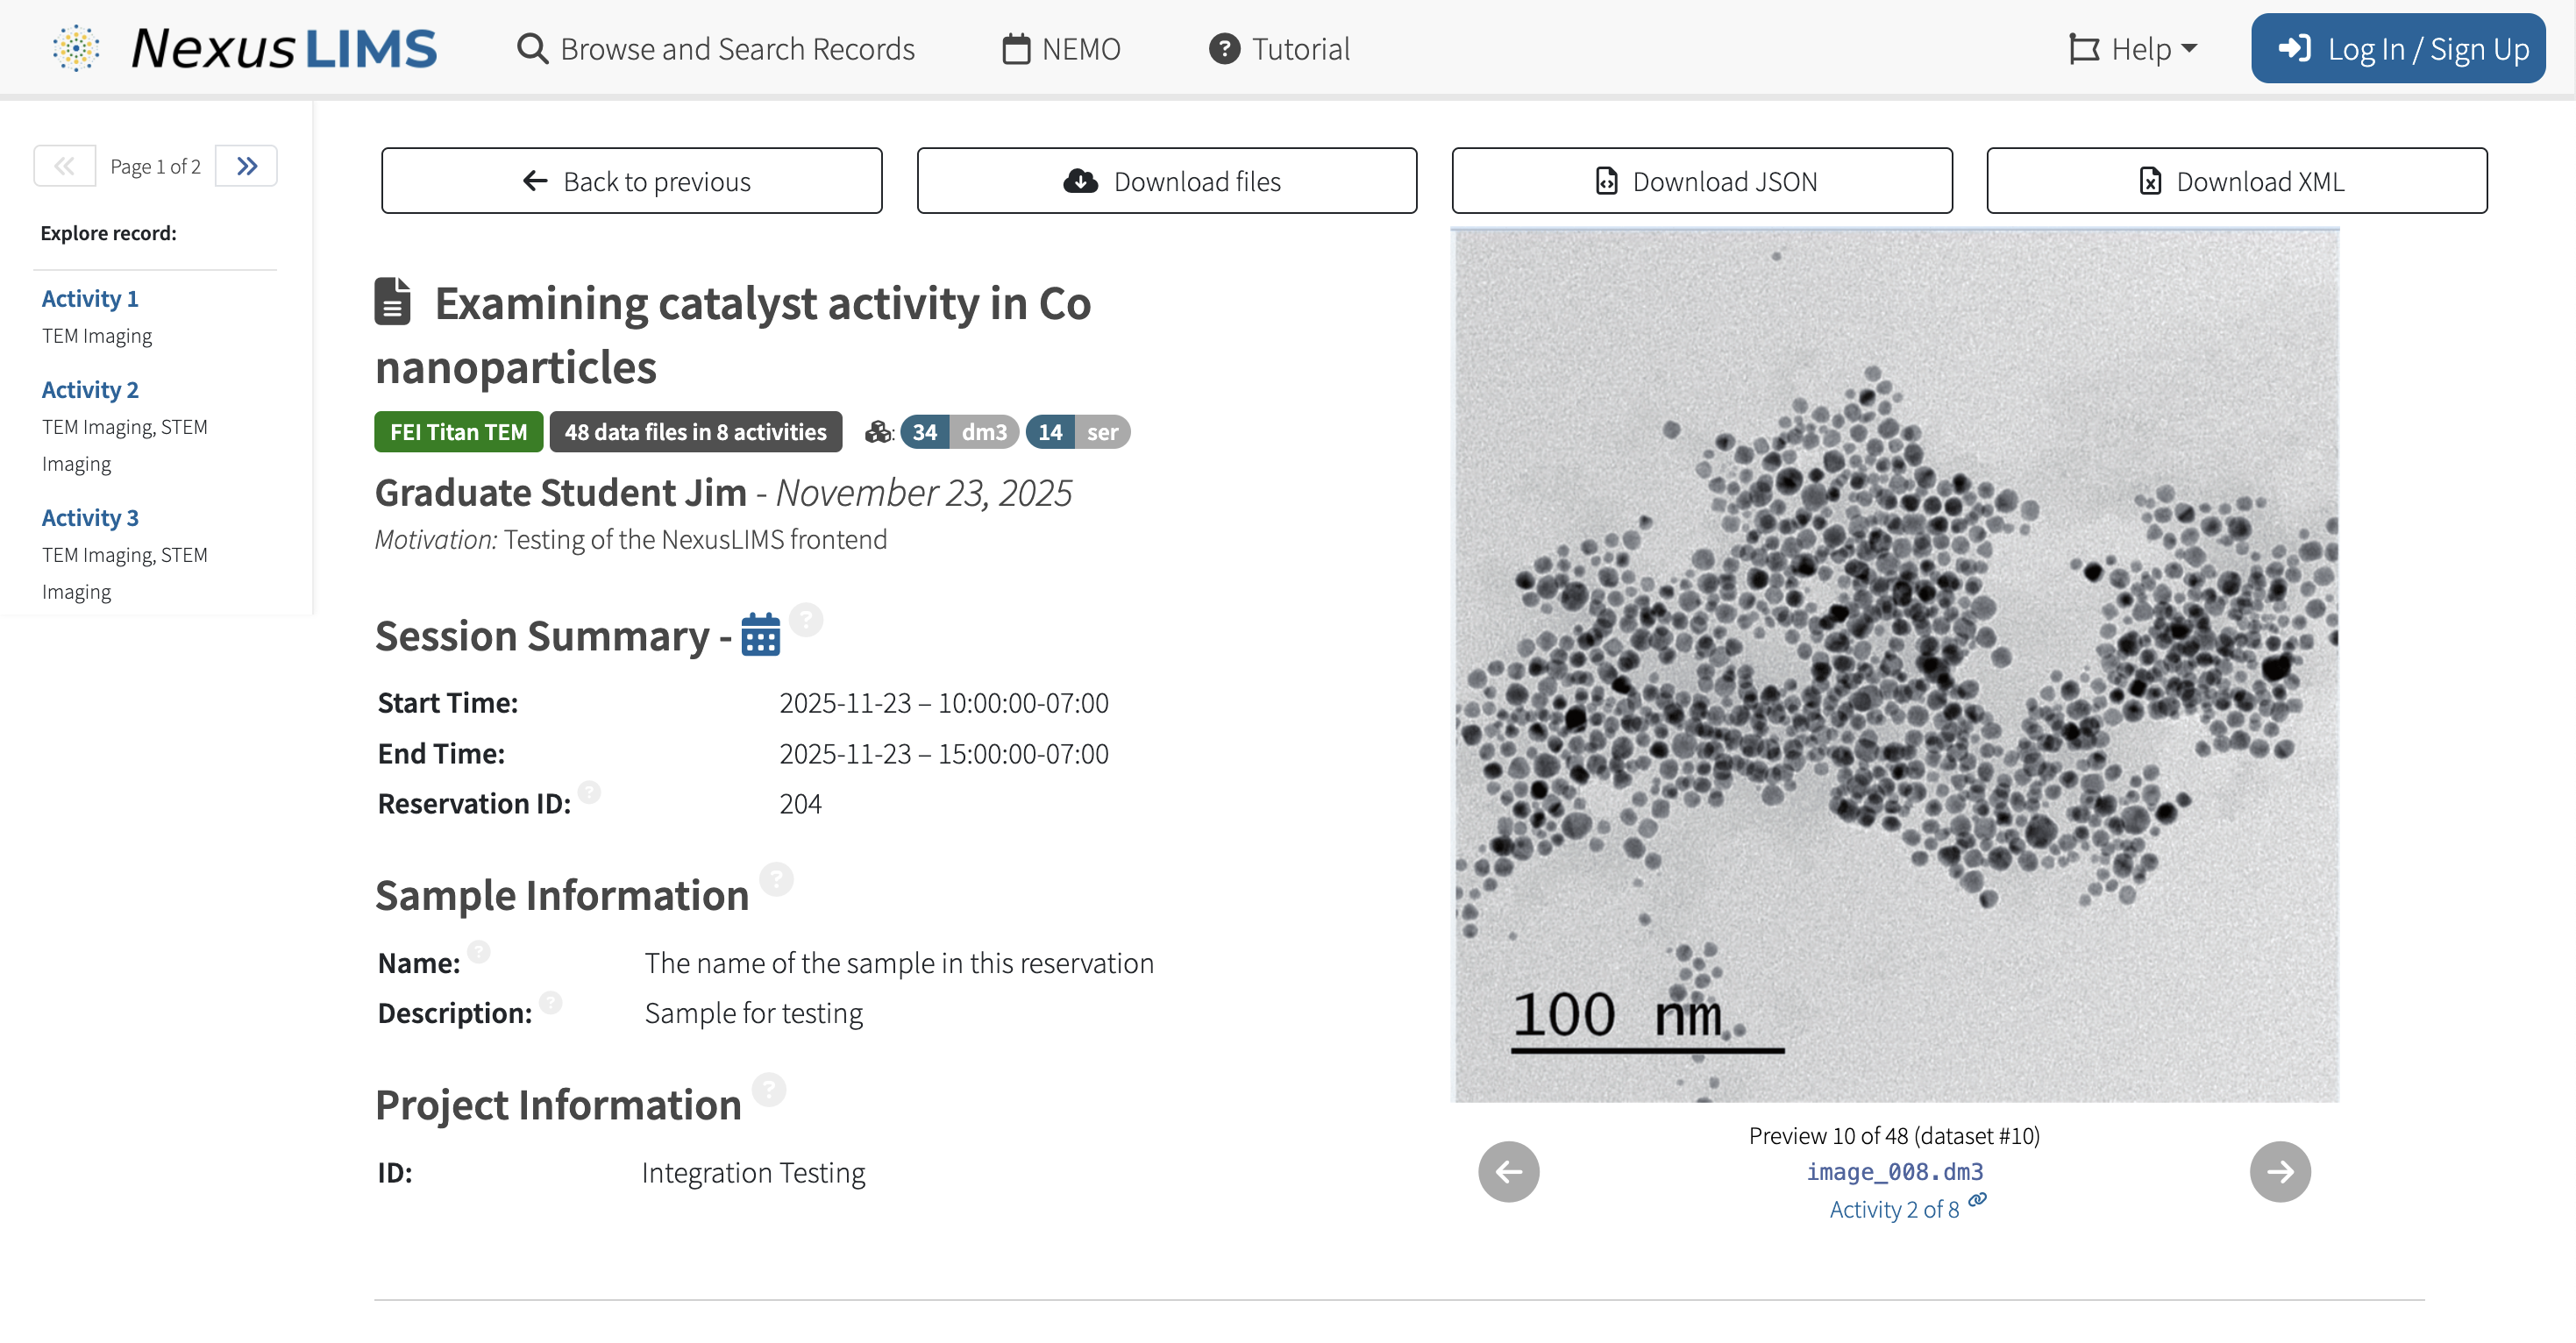
Full record view showing all metadata, preview images, and data file links.#
Acquisition Activities#
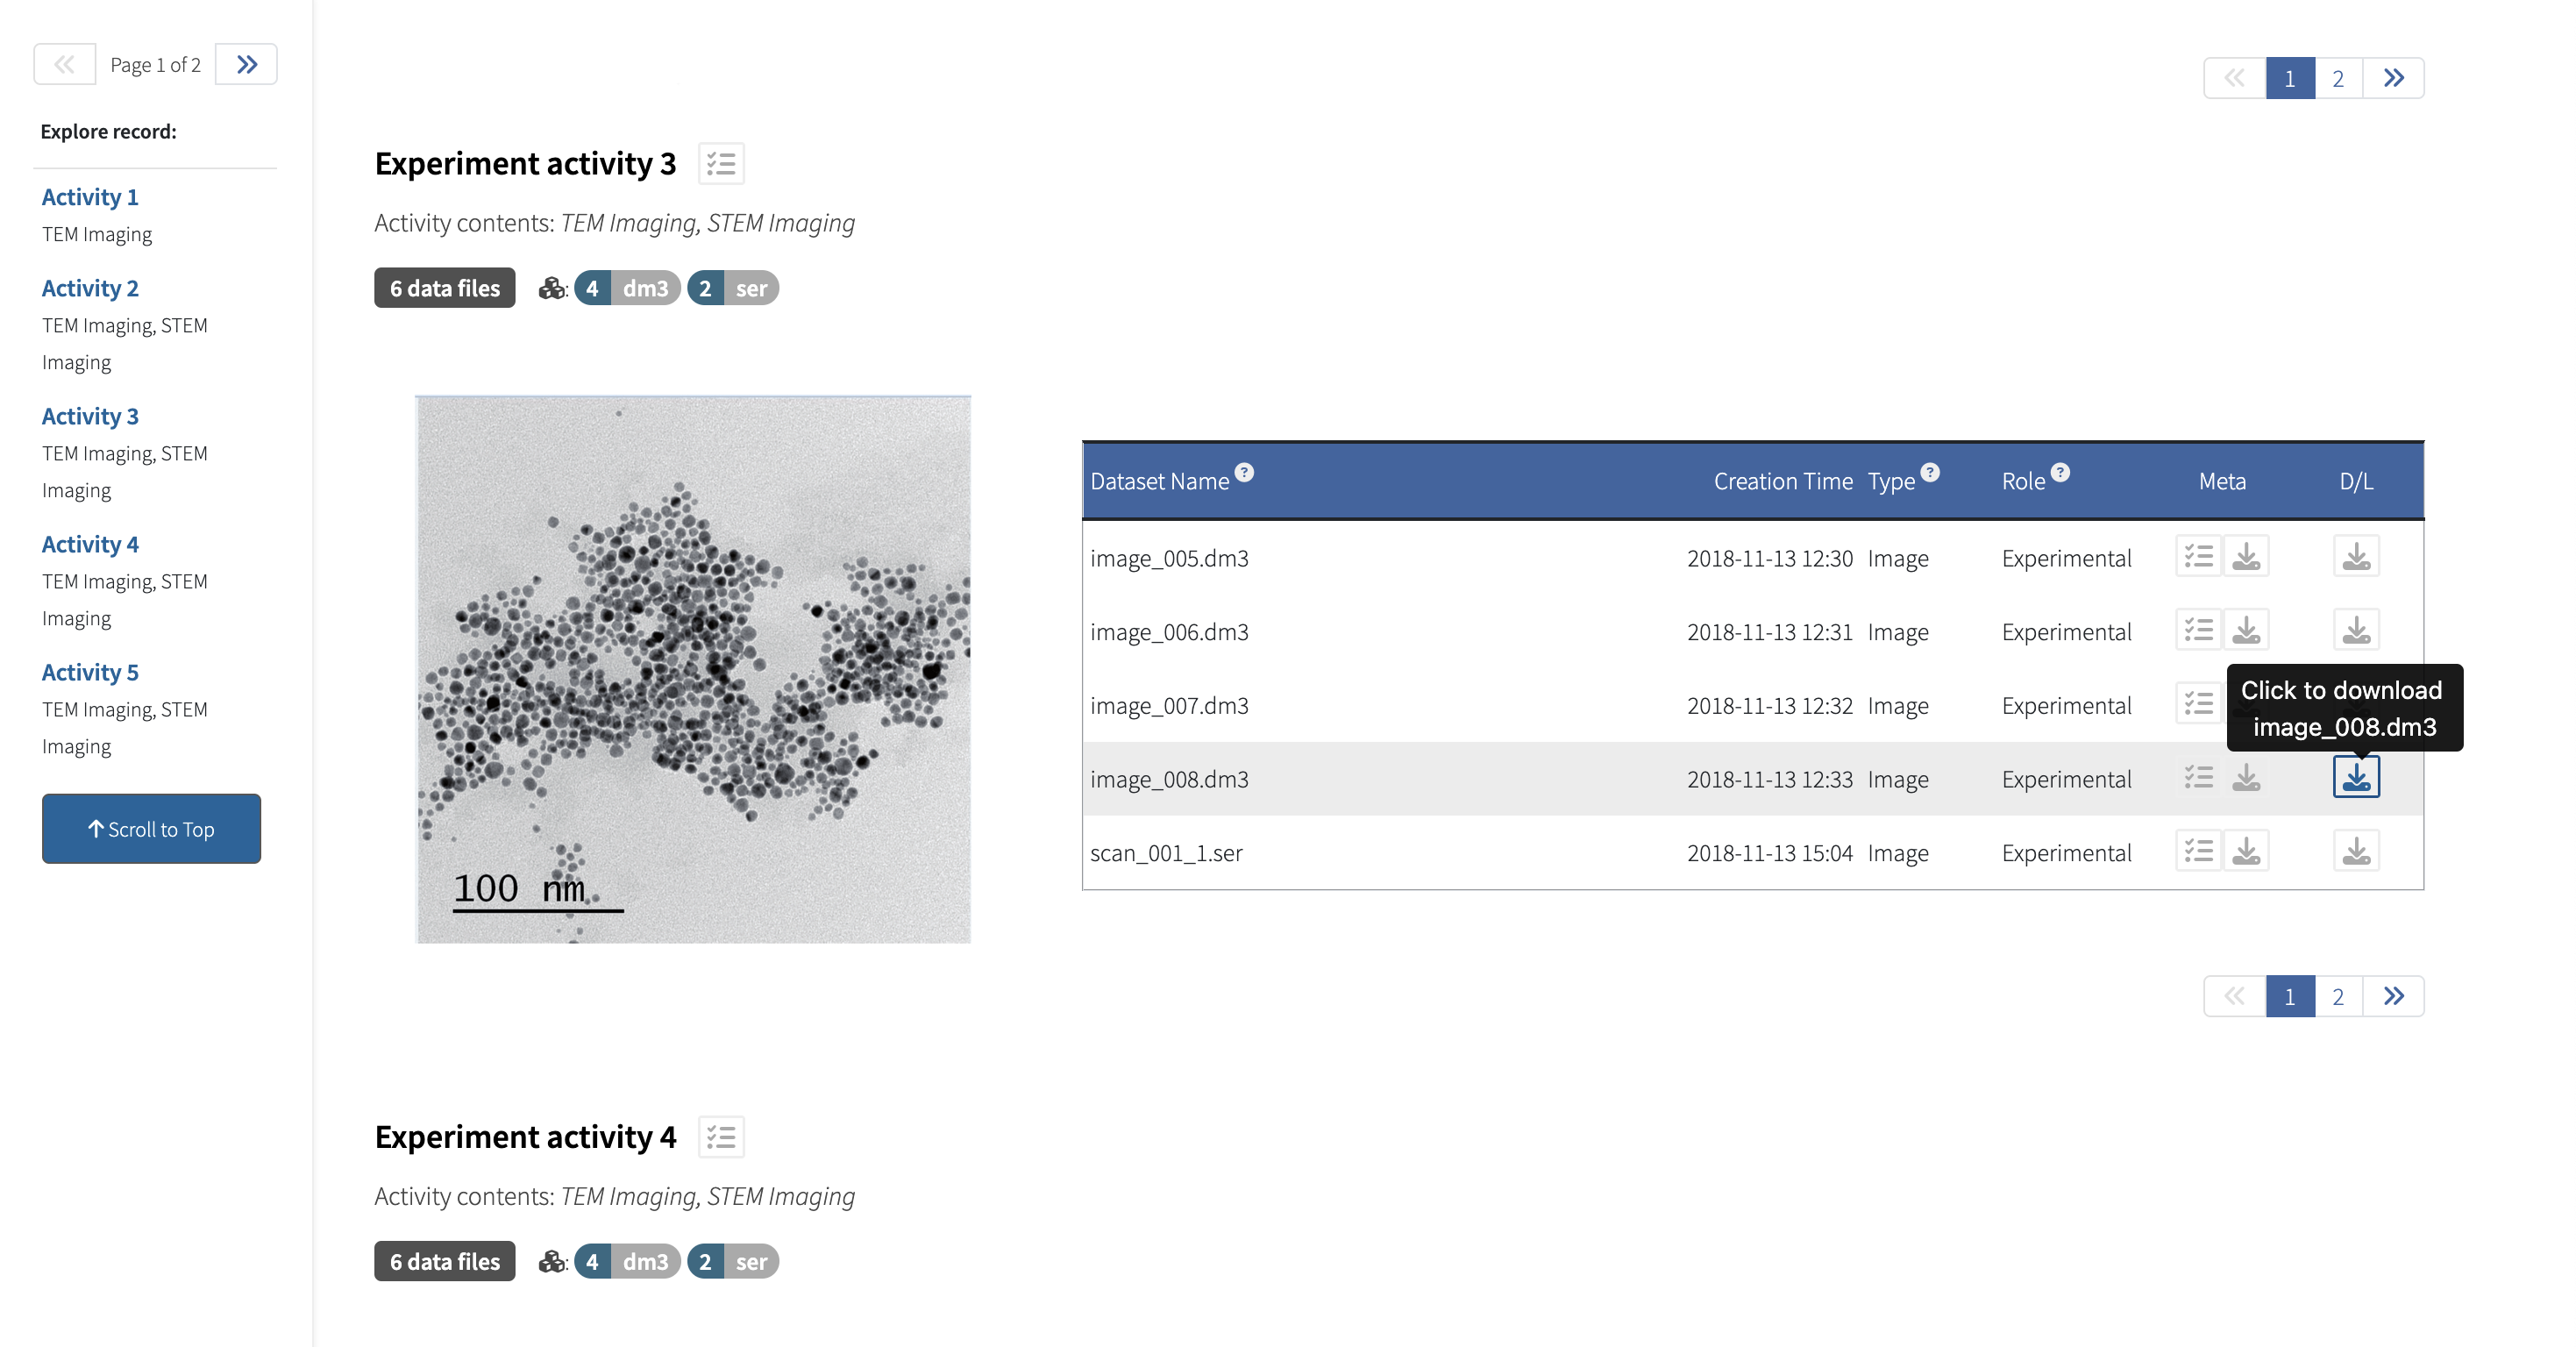
Acquisition activities showing grouped files and their metadata. Each activity header displays a linked badge identifying its associated sample.#
Dataset Metadata#
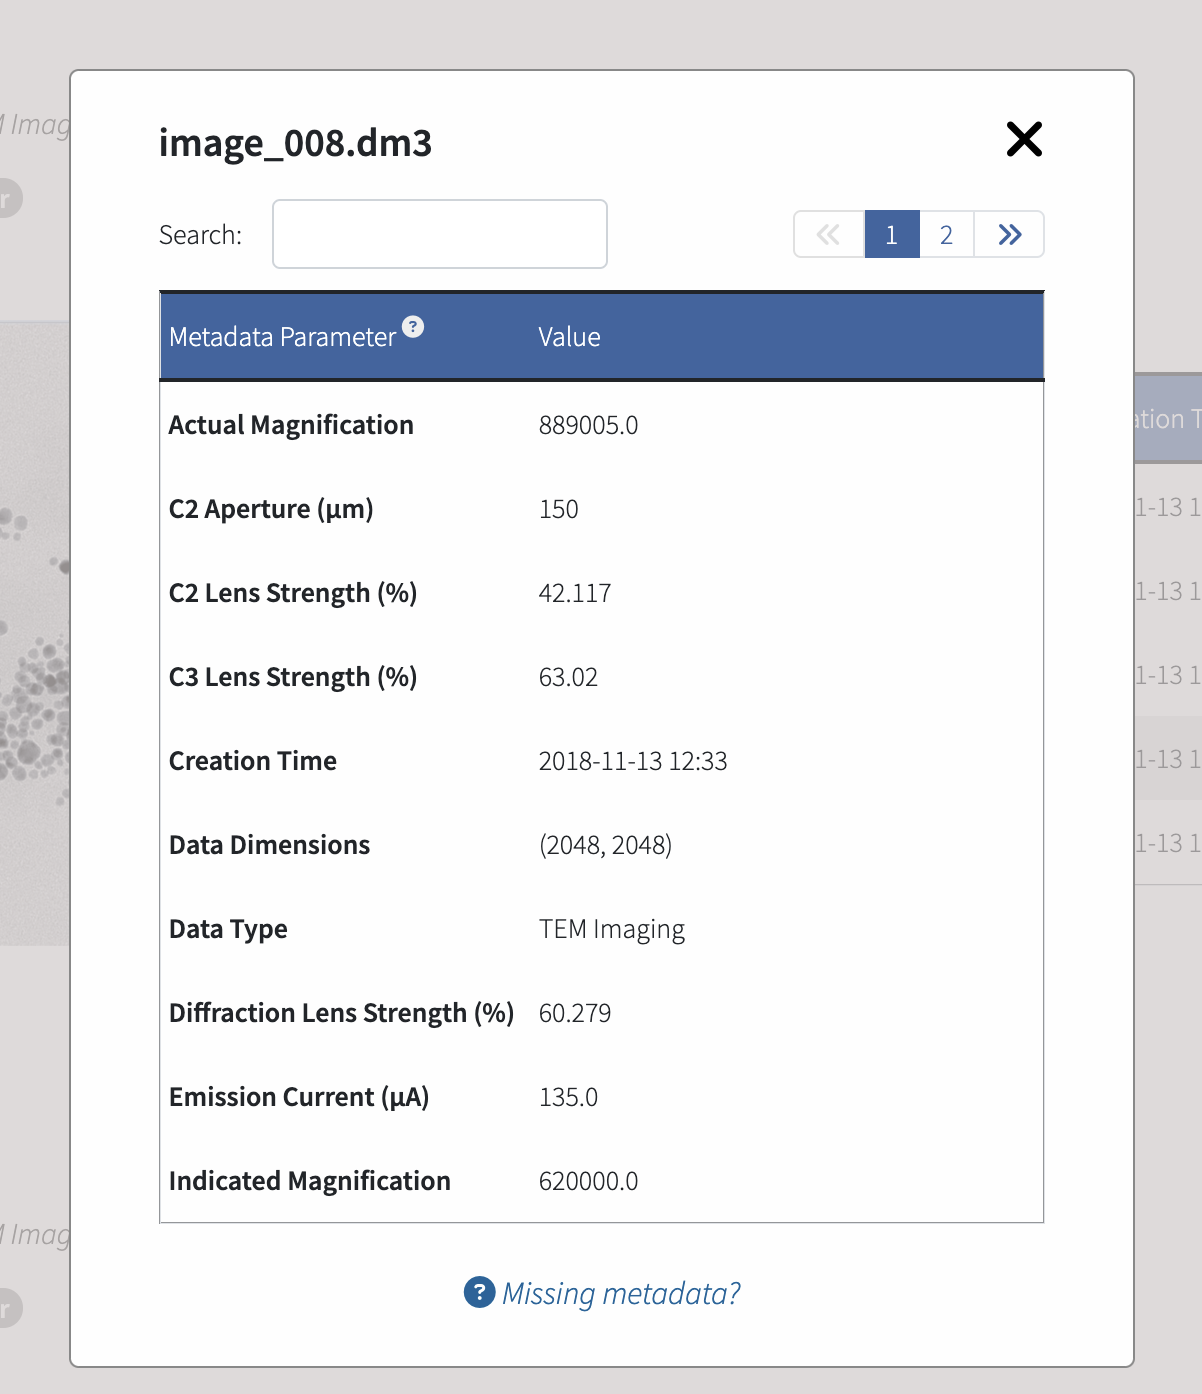
Display and filtering of technical metadata for individual datasets (voltage, magnification, etc.).#
Easy Data Download#
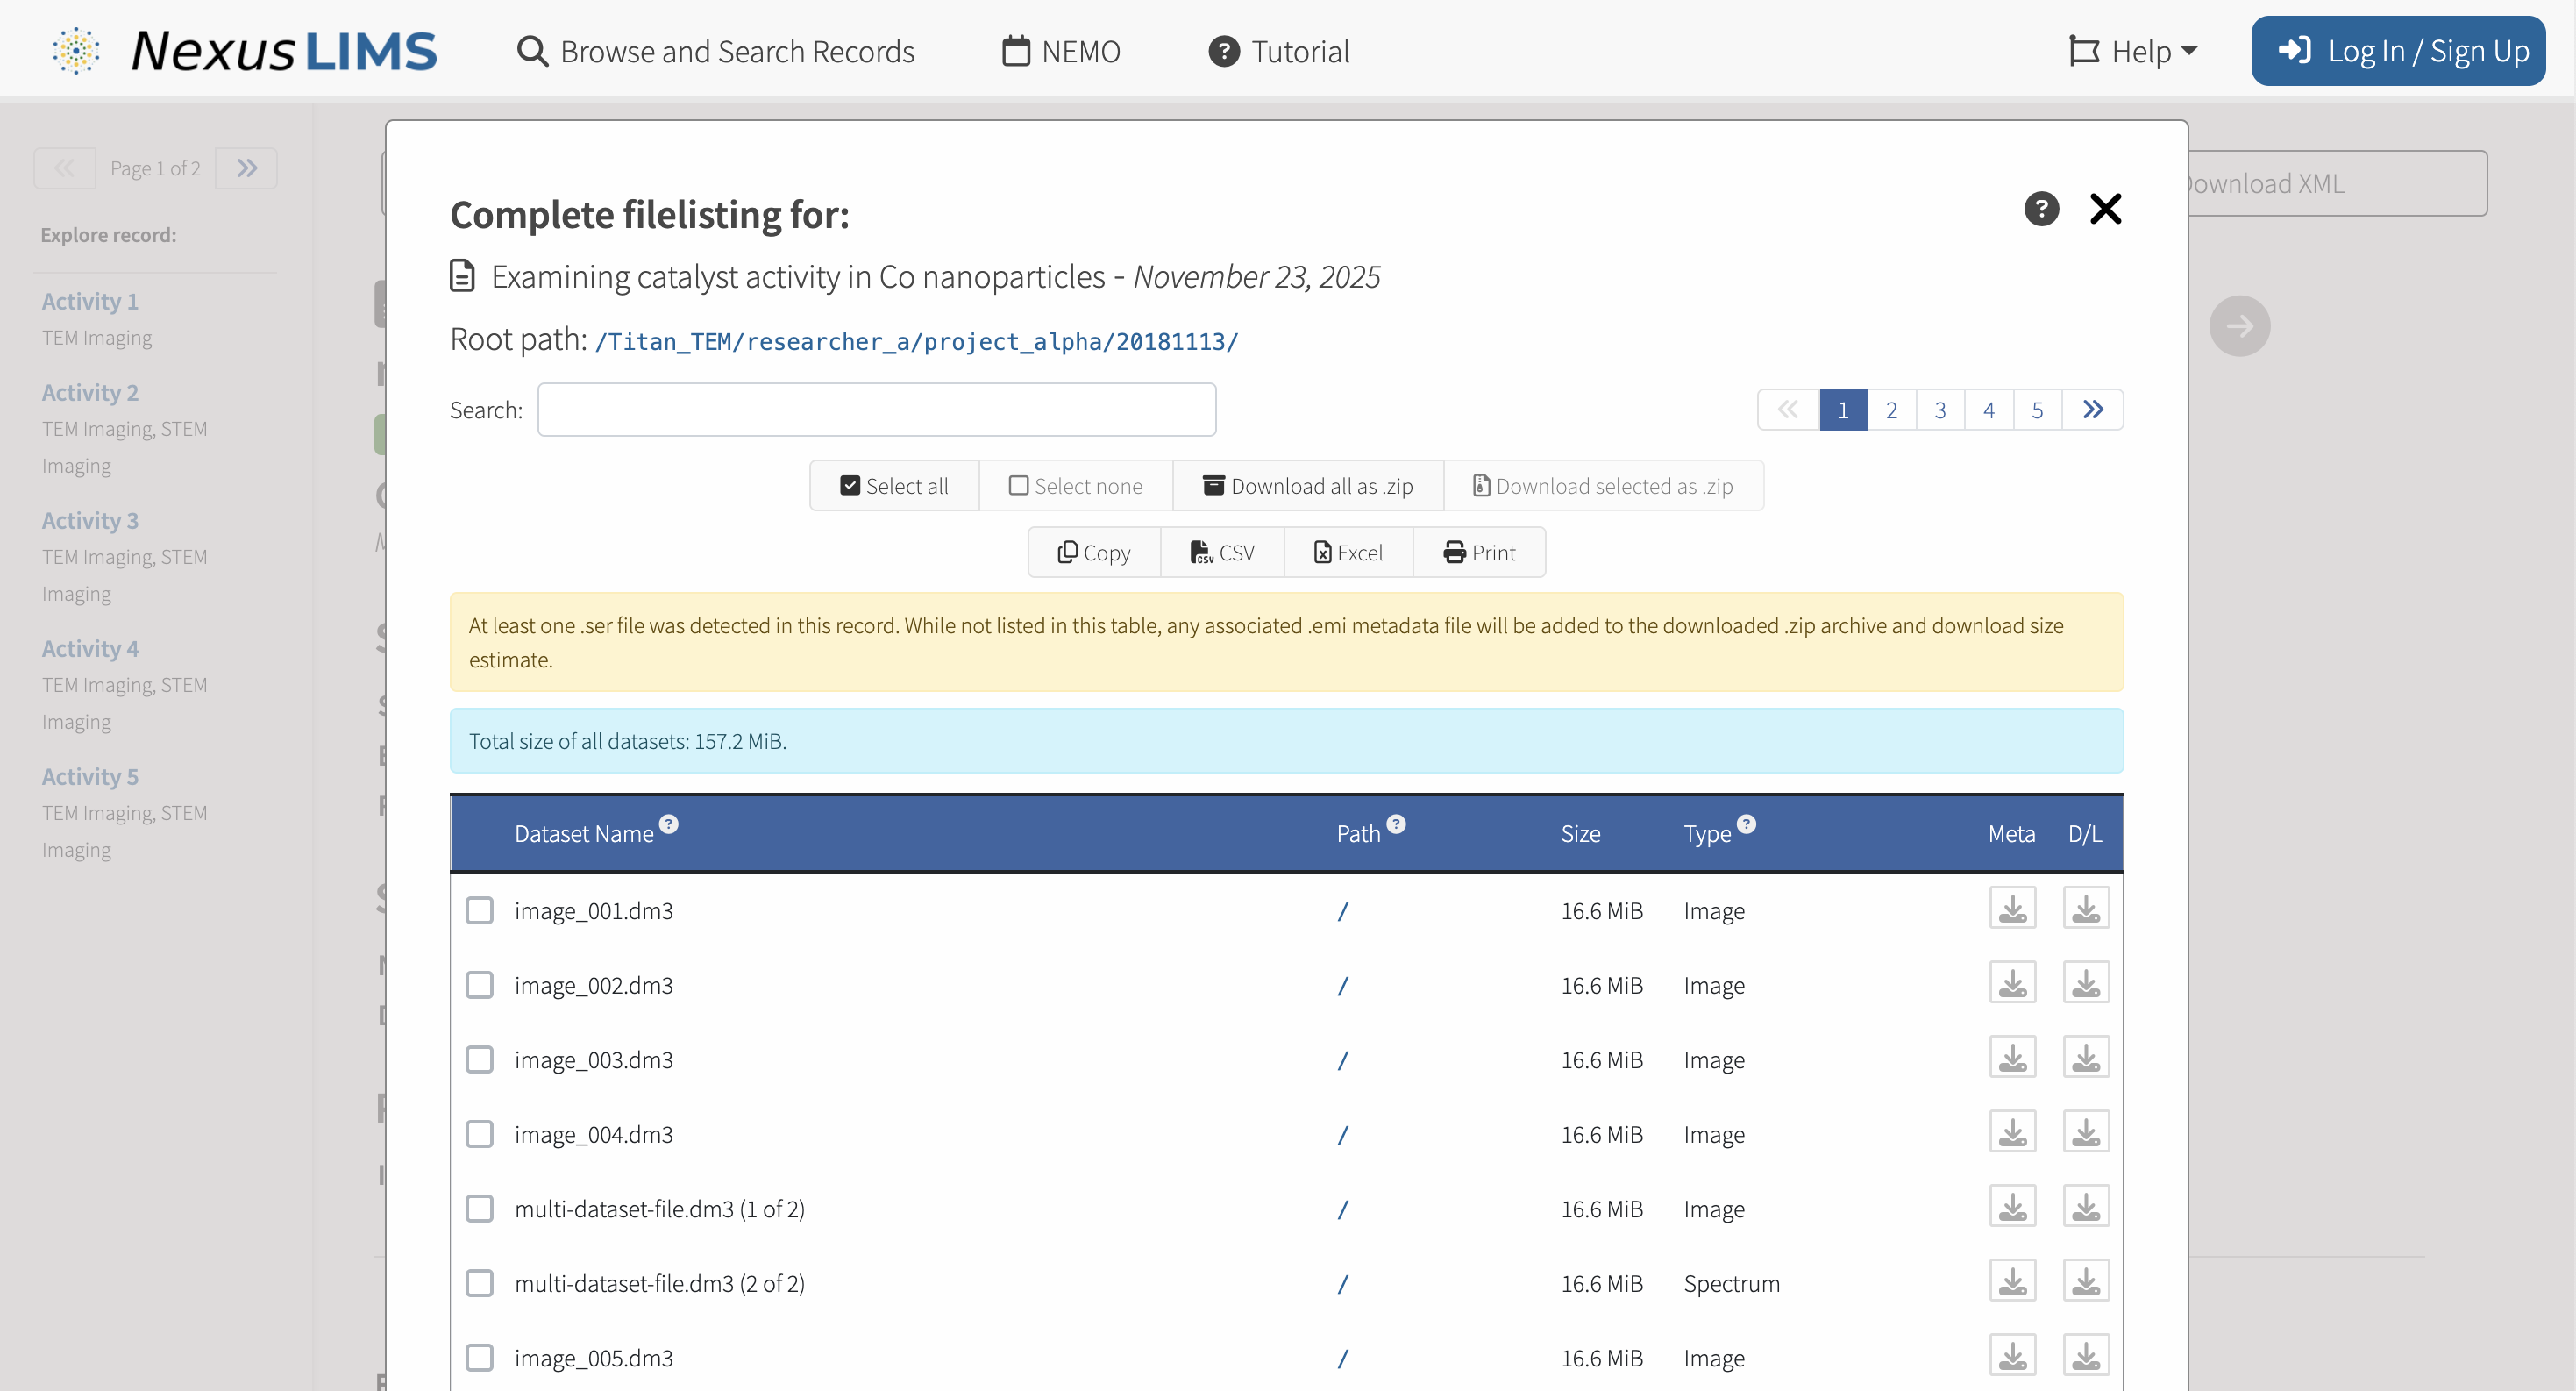
Data files and metadata can be downloaded in bulk using the file downloader tool.#
Simplified Display for Large Records#
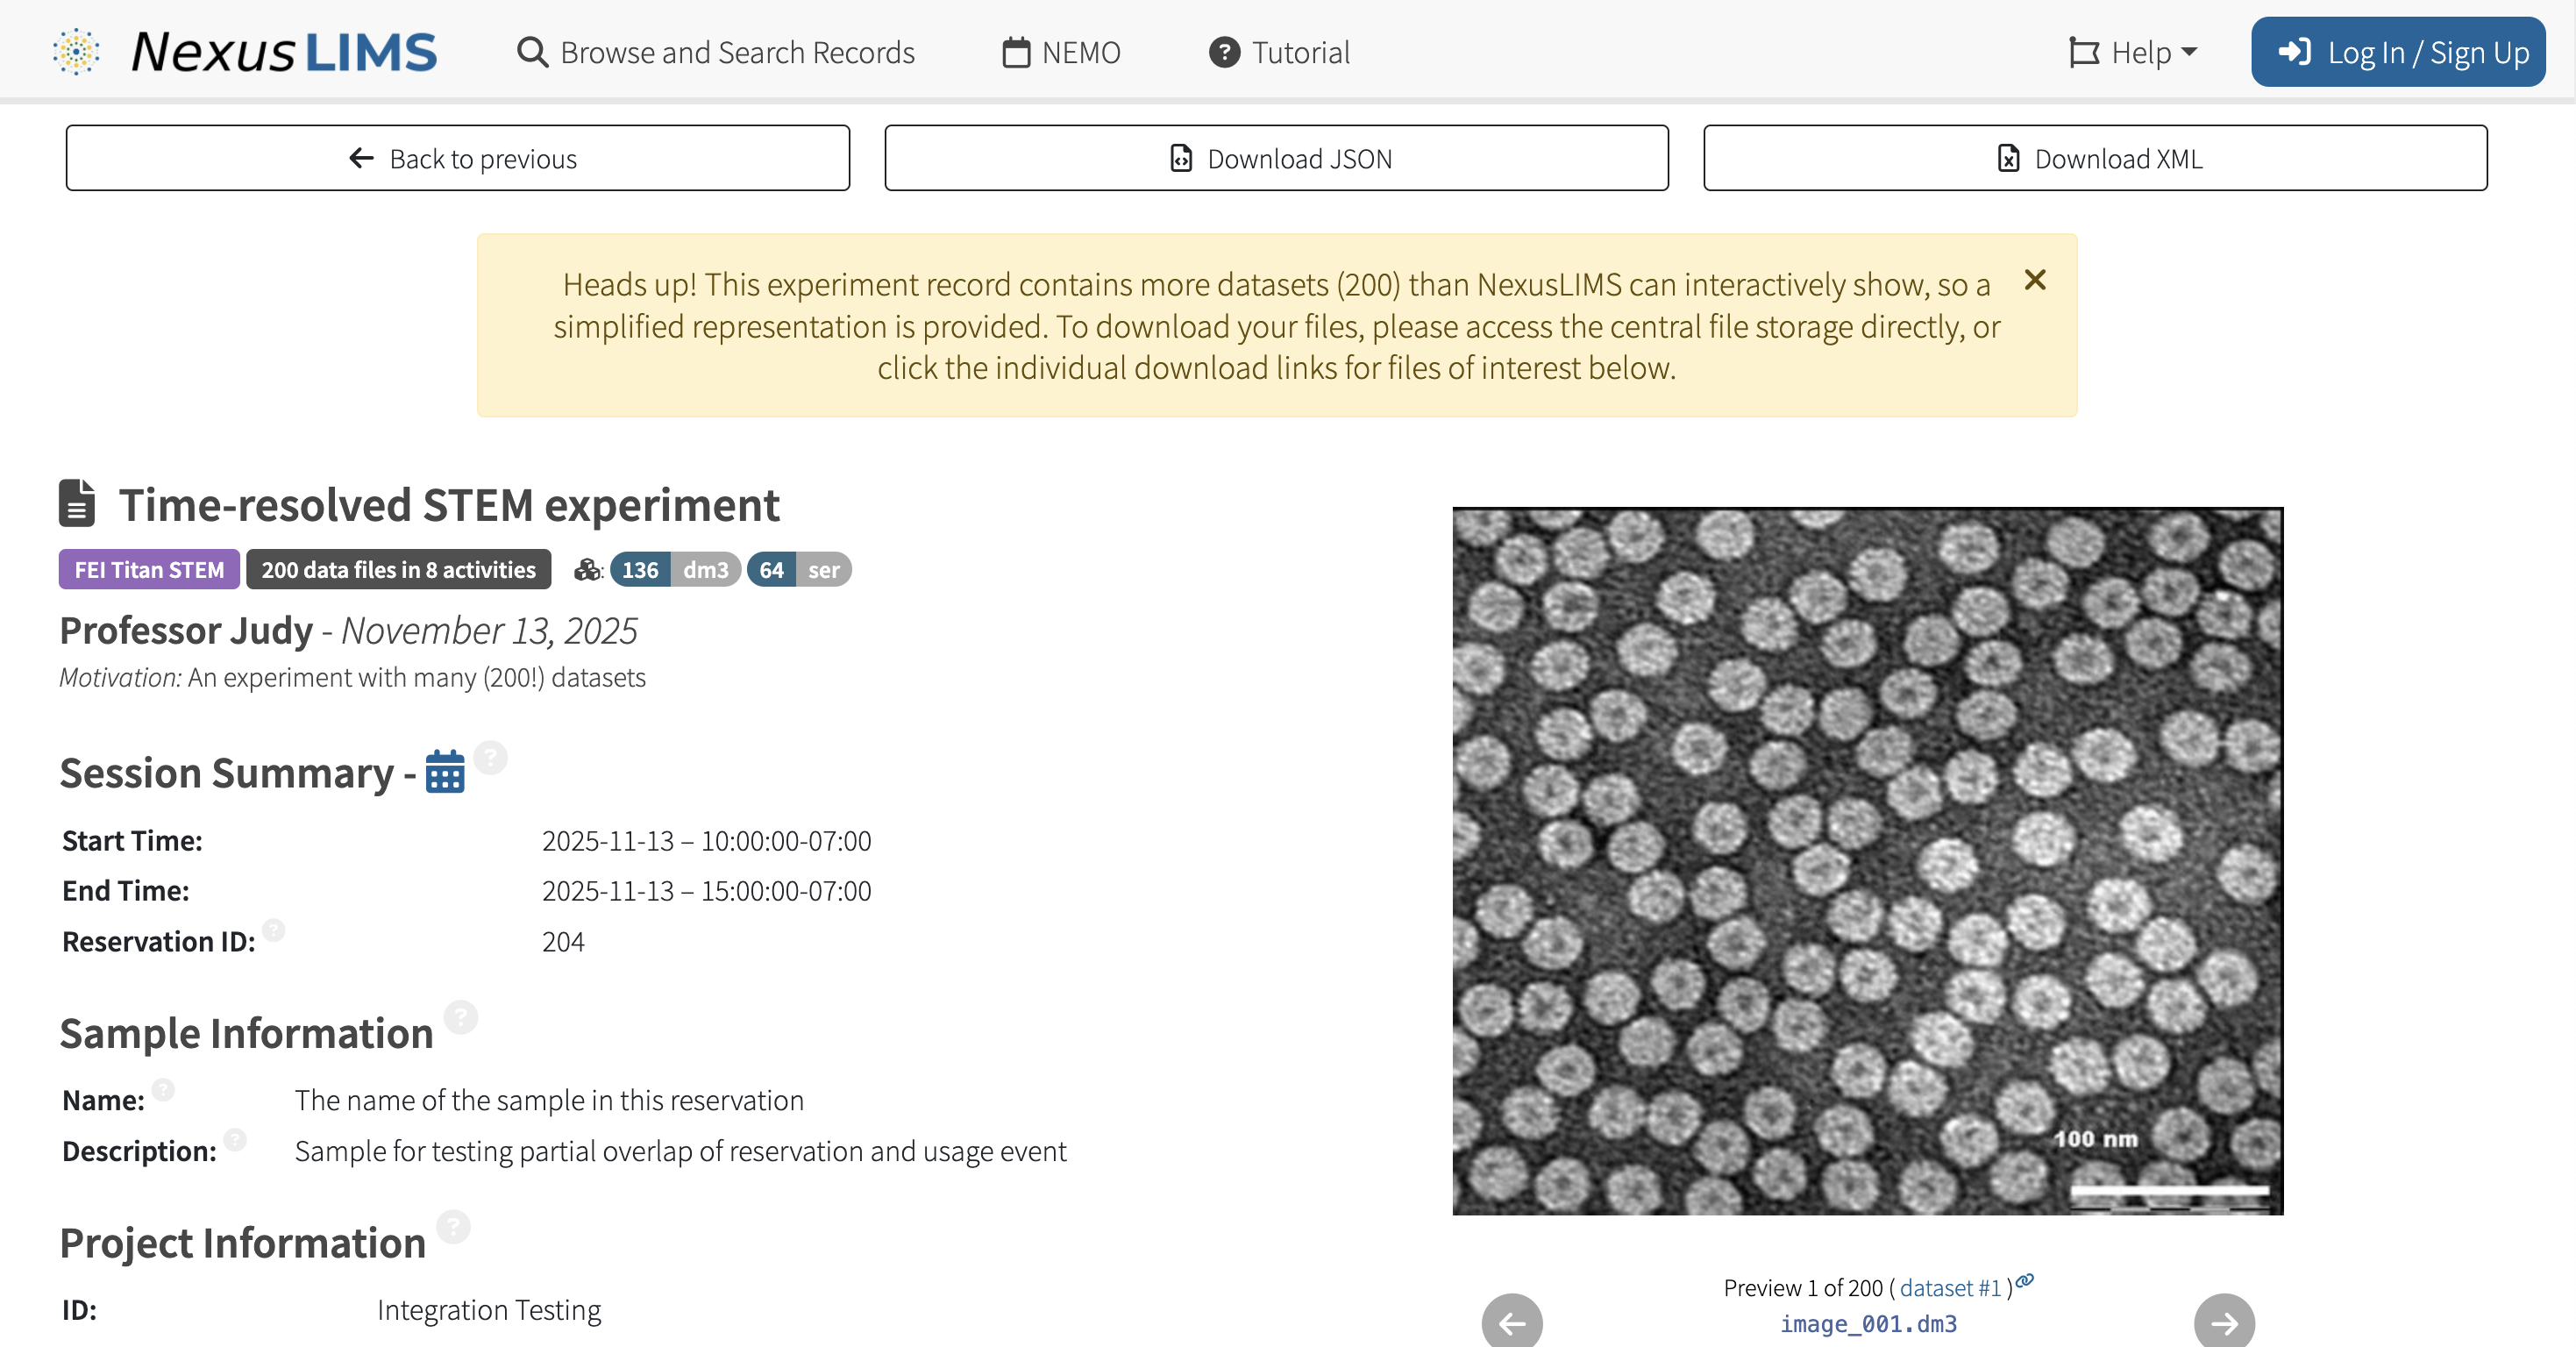
Large records can be displayed with a simplified view to keep the application performant.#
Public Dataset Gallery#
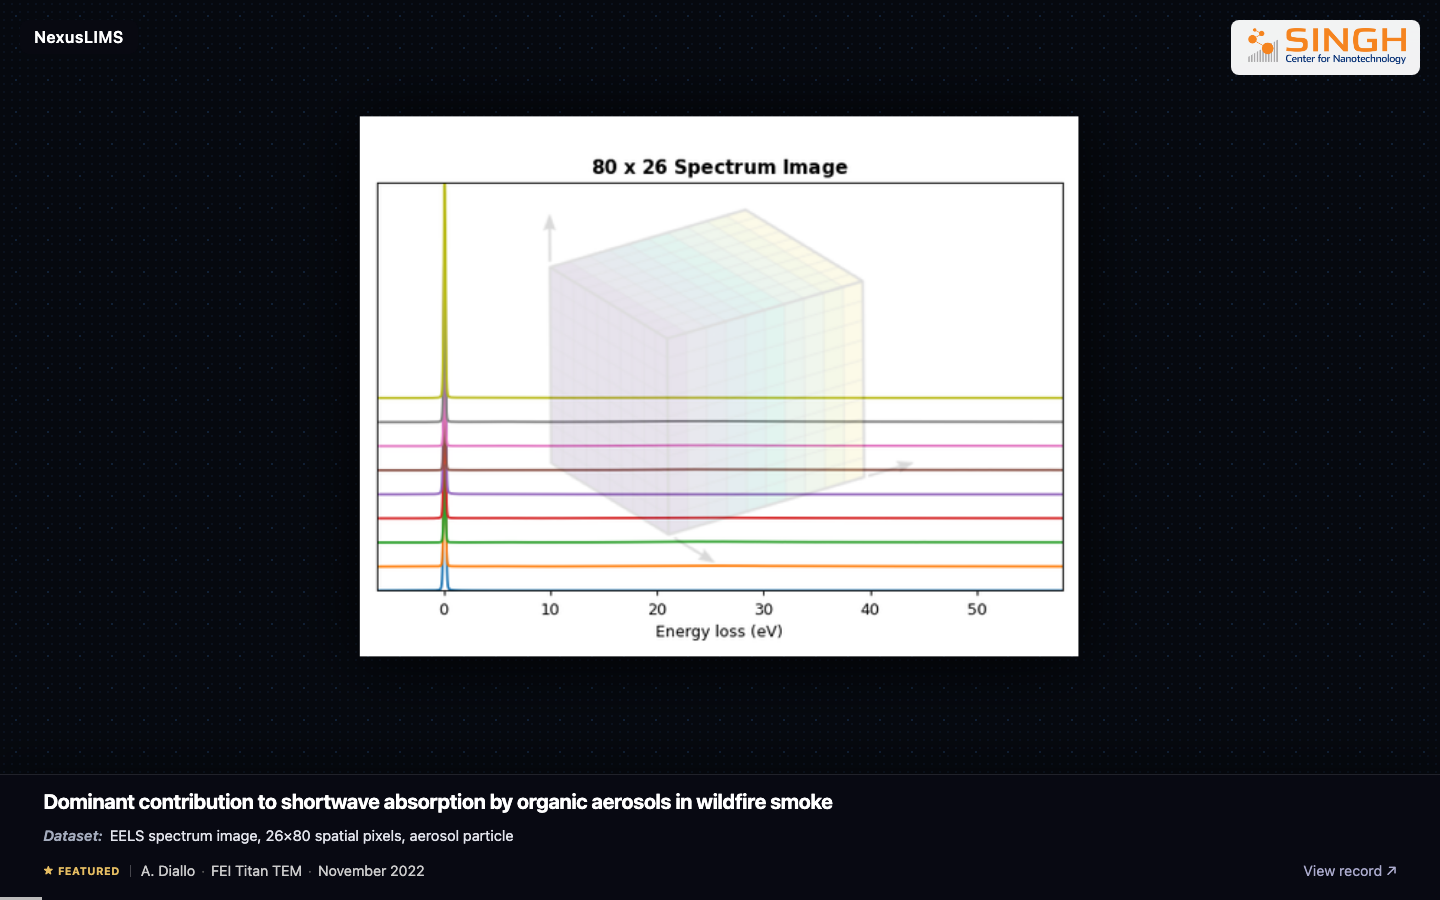
The public gallery at /gallery/ automatically rotates through dataset previews and
shows the record title, dataset description, experimenter, instrument, and acquisition
date. Featured datasets receive a visible badge, and View record opens the source
record in a new tab.#
The gallery is designed for unattended displays as well as interactive browsing:
Slides advance automatically after the configured interval.
Move the pointer to reveal previous, next, and full-screen controls.
Use the left and right arrow keys to browse recent slides, or press F to toggle full-screen mode.
Only records with at least one previewable dataset are eligible.
For each selected record, the gallery chooses a featured preview first, then a highest-rated preview, then the first available preview.
The page does not require authentication. Administrators can disable or brand it using the settings described in Public Gallery.
Record Annotation#
Annotate Record Panel#
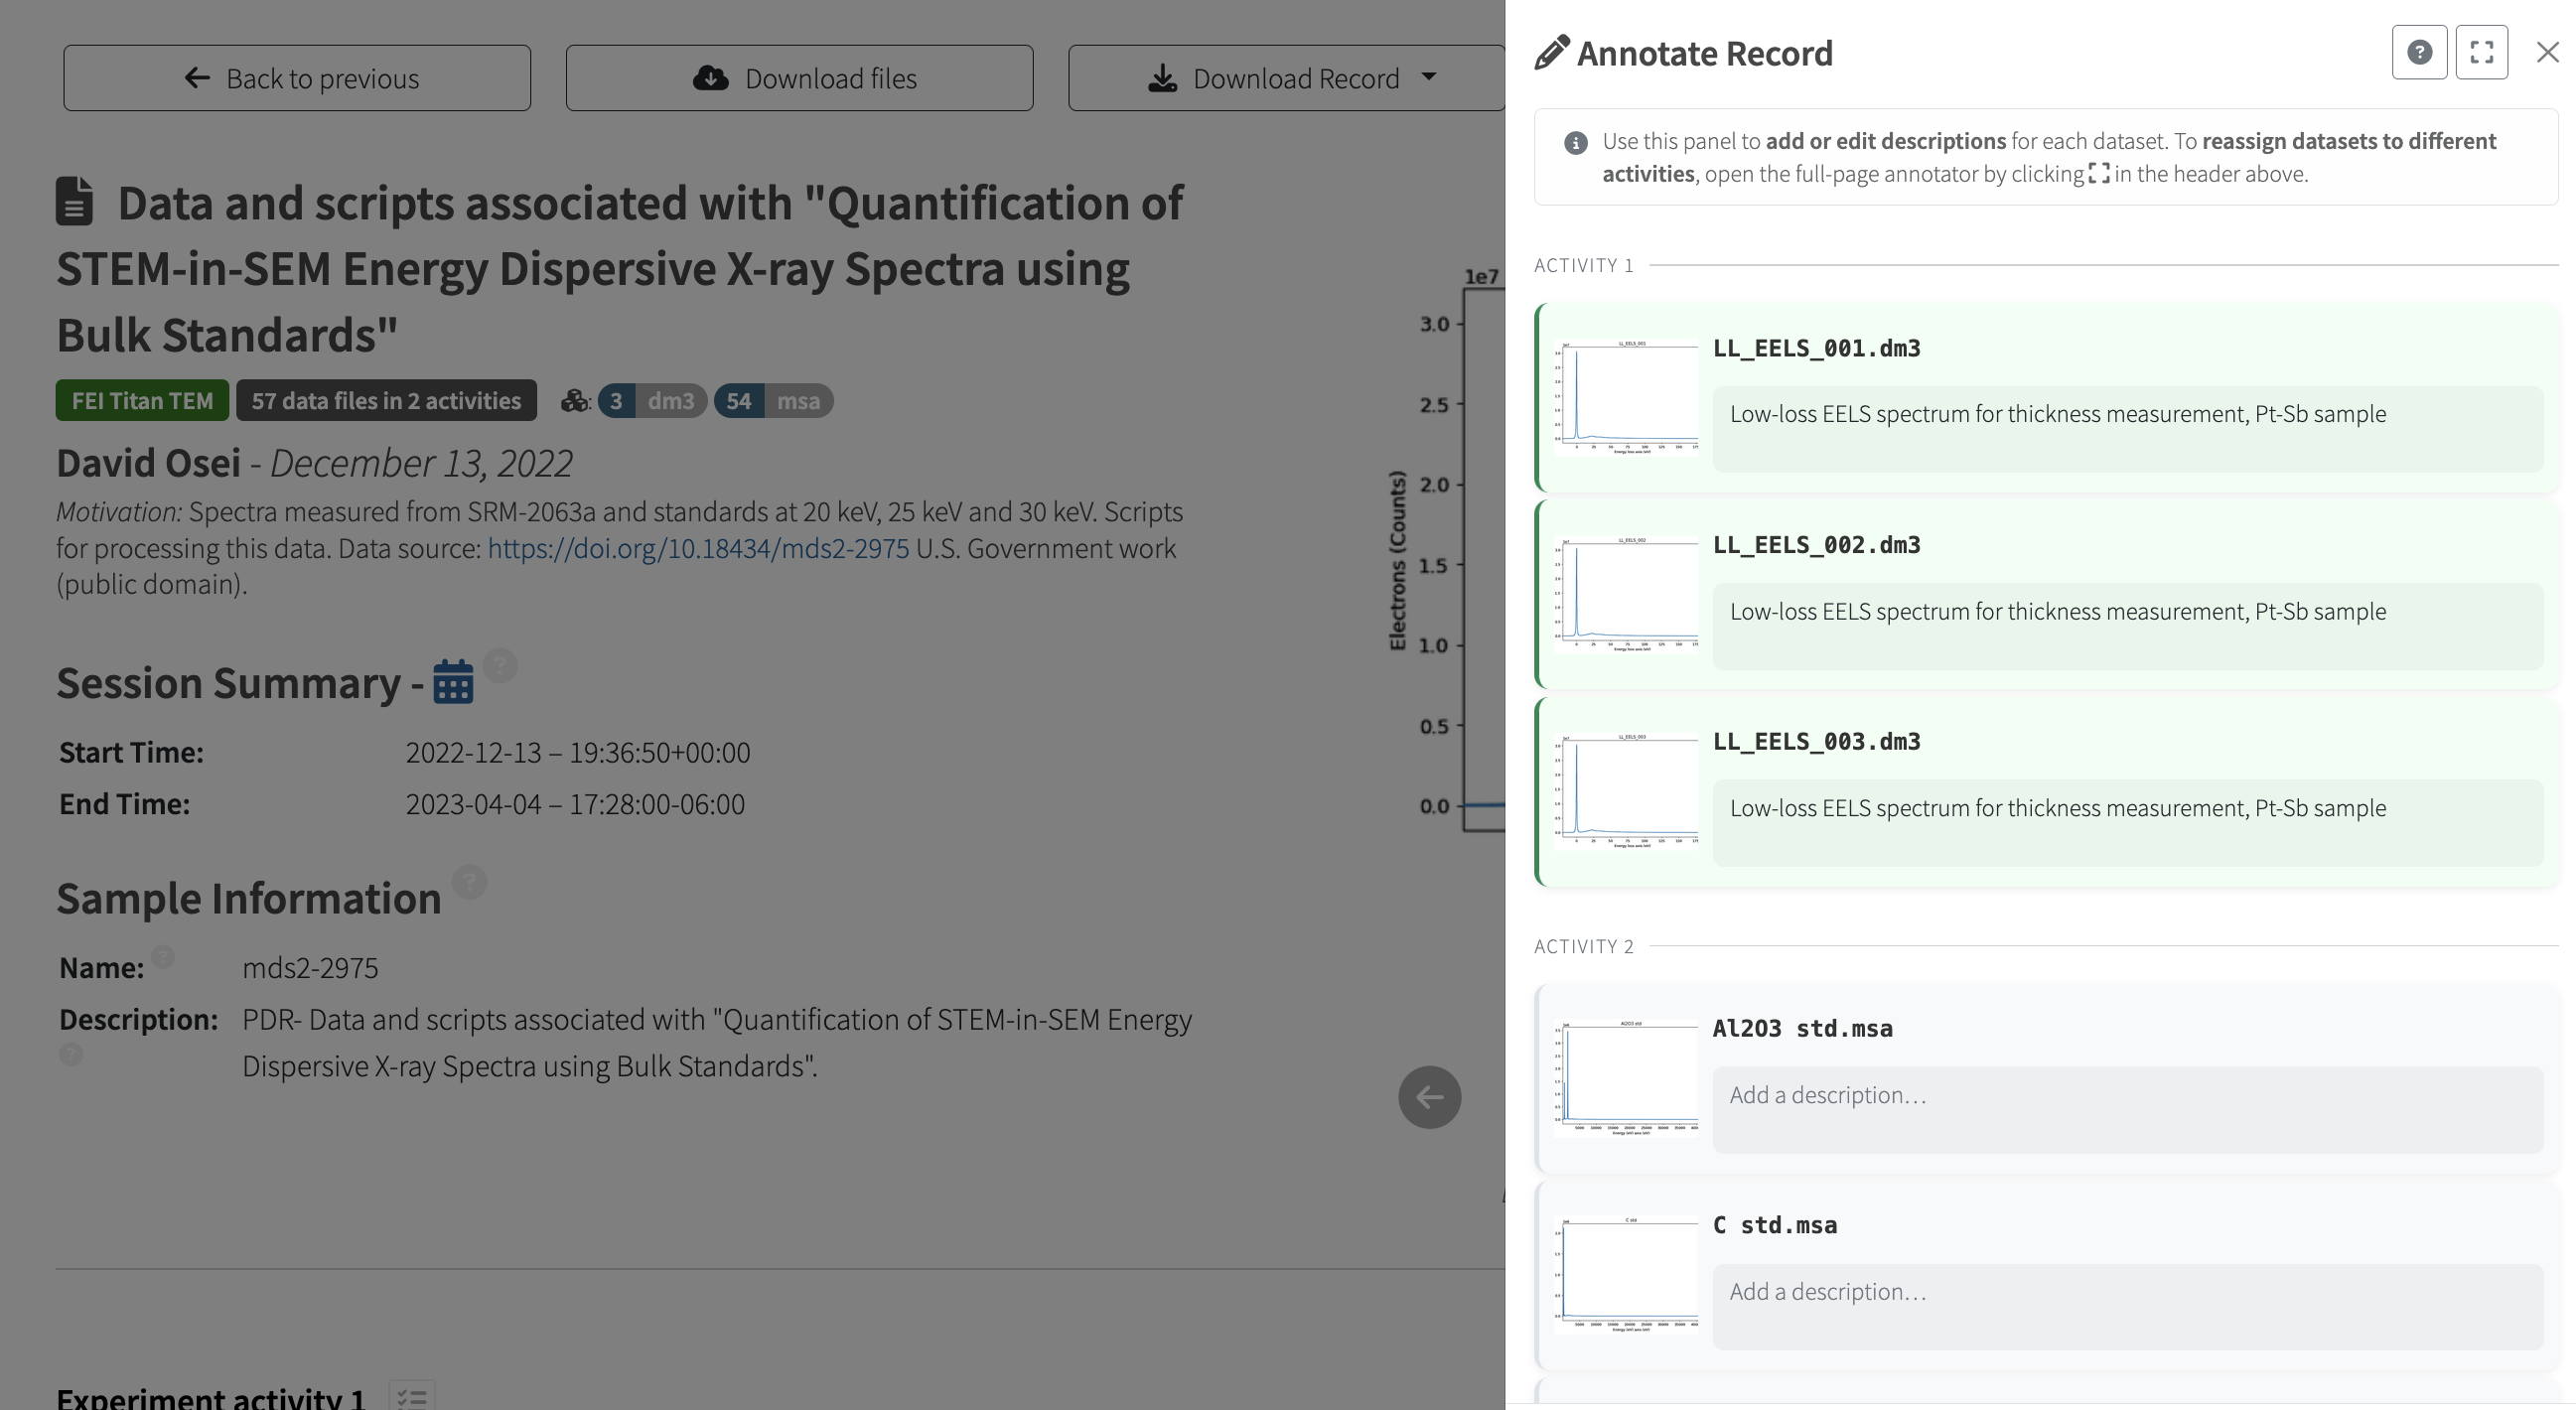
The Annotate Record side panel opens from the top action bar. Datasets are shown with preview thumbnails and free-text description fields, which can be customized to add context to your experimental record.#
Inline Dataset Editing#
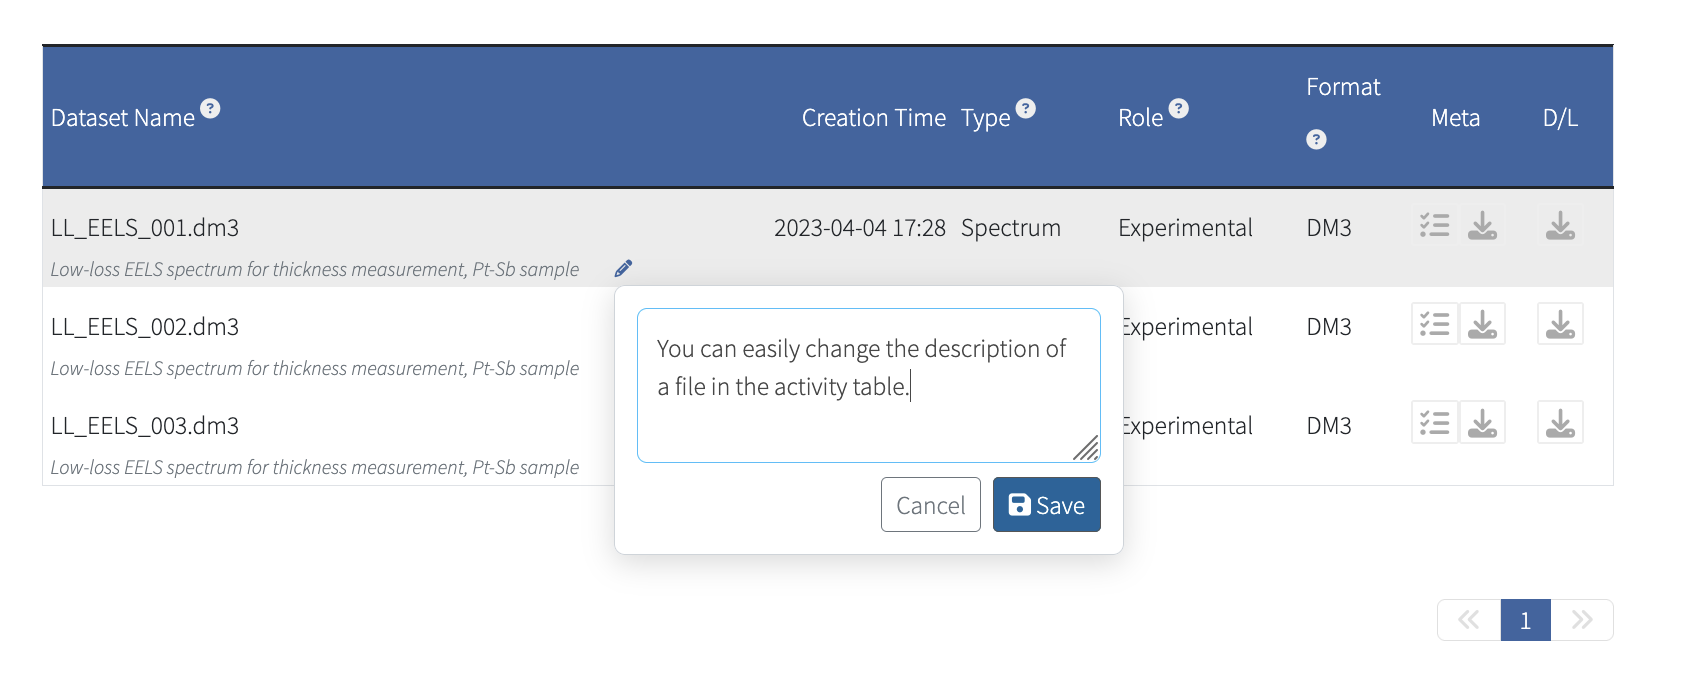
Hovering over a dataset row in an acquisition activity table reveals a pencil icon. Clicking it opens a floating popup for quick single-dataset description edits.#
Full-Page Editor#
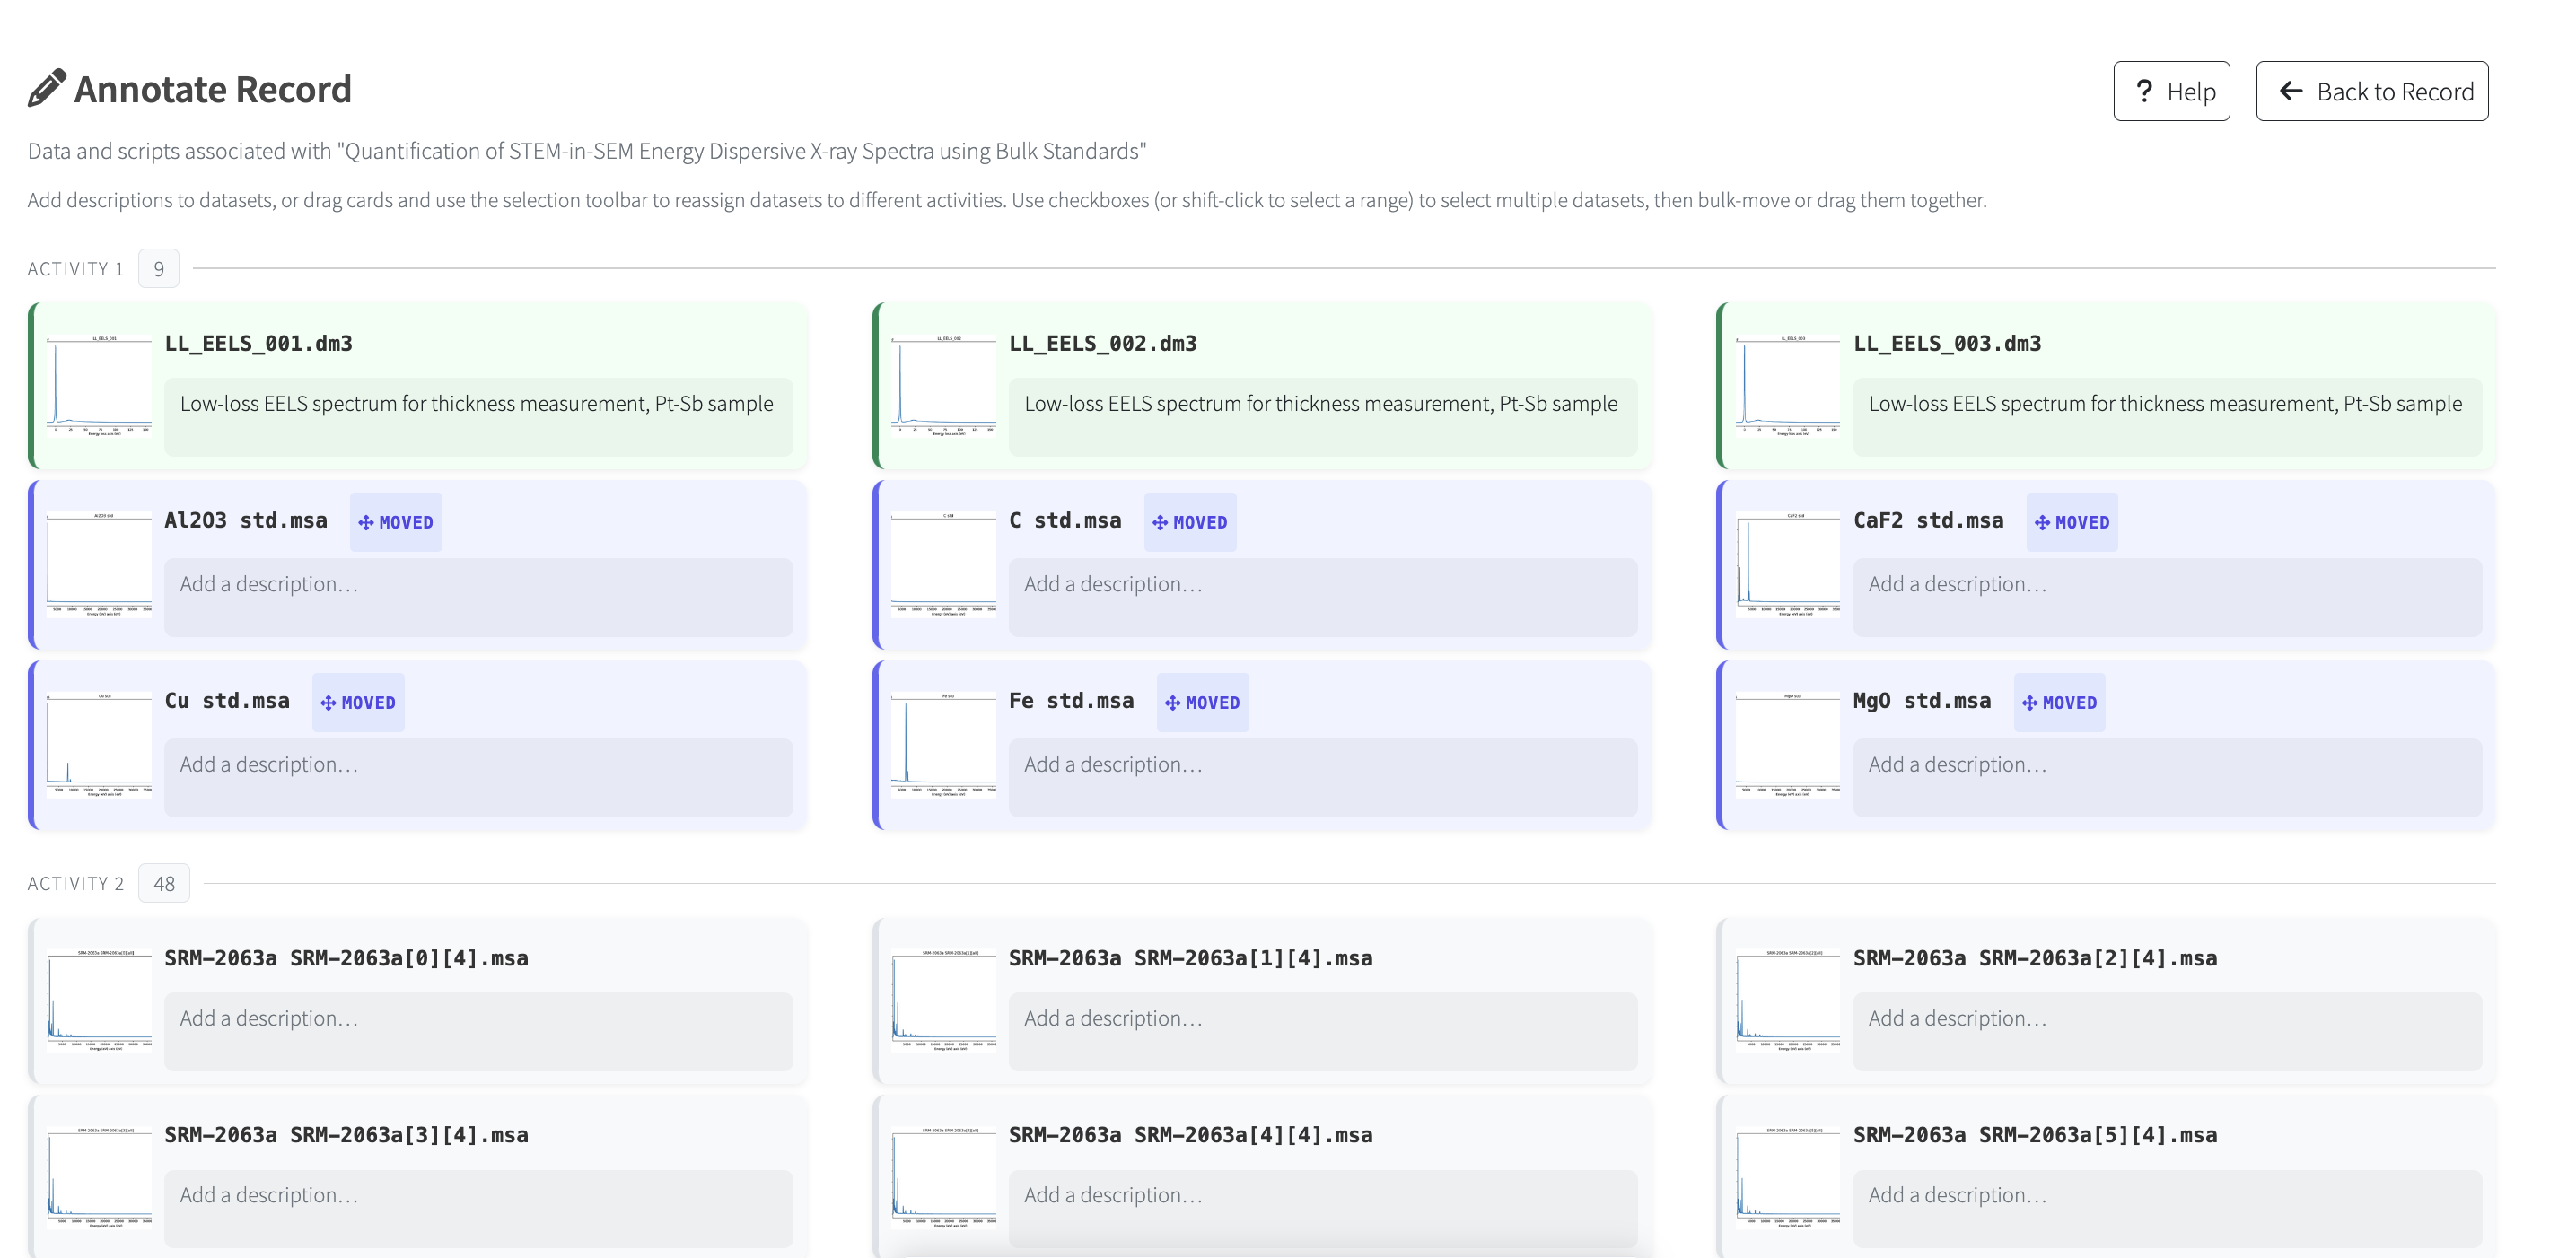
The expand icon in the side panel header opens the full-page editor. In addition to editing descriptions and reassigning datasets between acquisition activities, the full-page editor supports adding, editing, and deleting samples and activities and inline title editing.#
Sample Management#
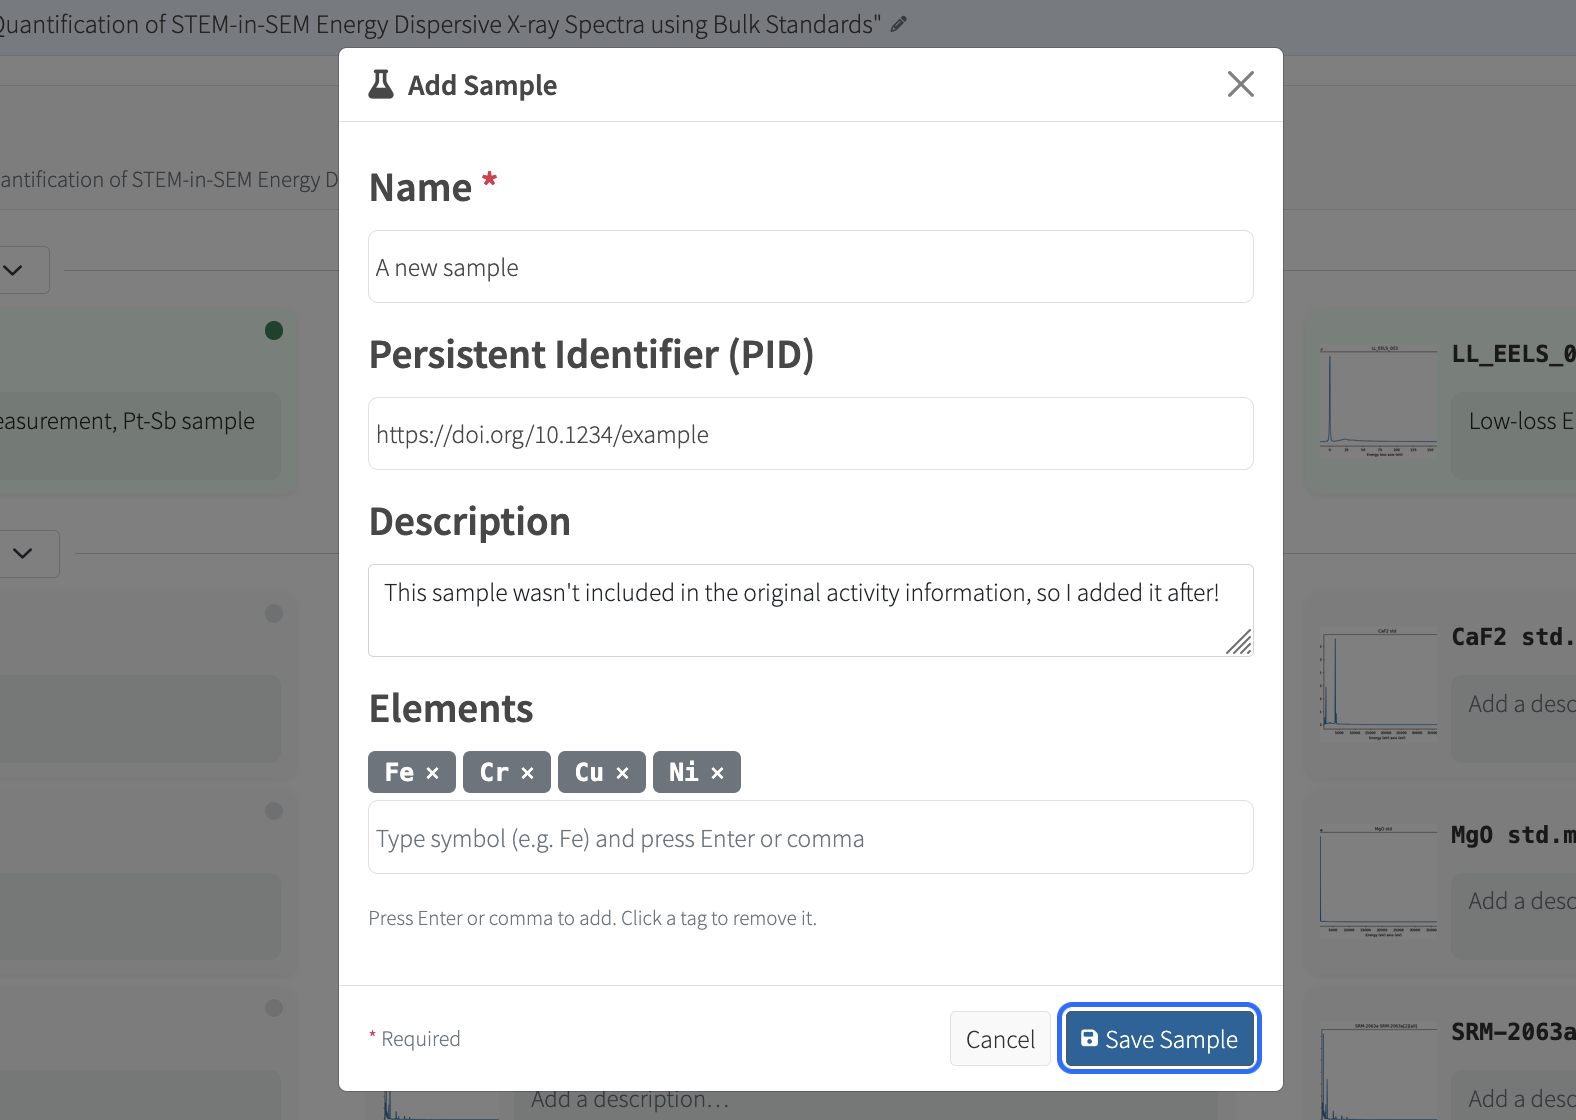
The Add Sample modal lets users define a sample name, persistent identifier (PID), free-text description, and elemental composition. Samples can also be edited or removed, and assigned to individual acquisition activities via a dropdown in each activity header.#
Pending Changes#
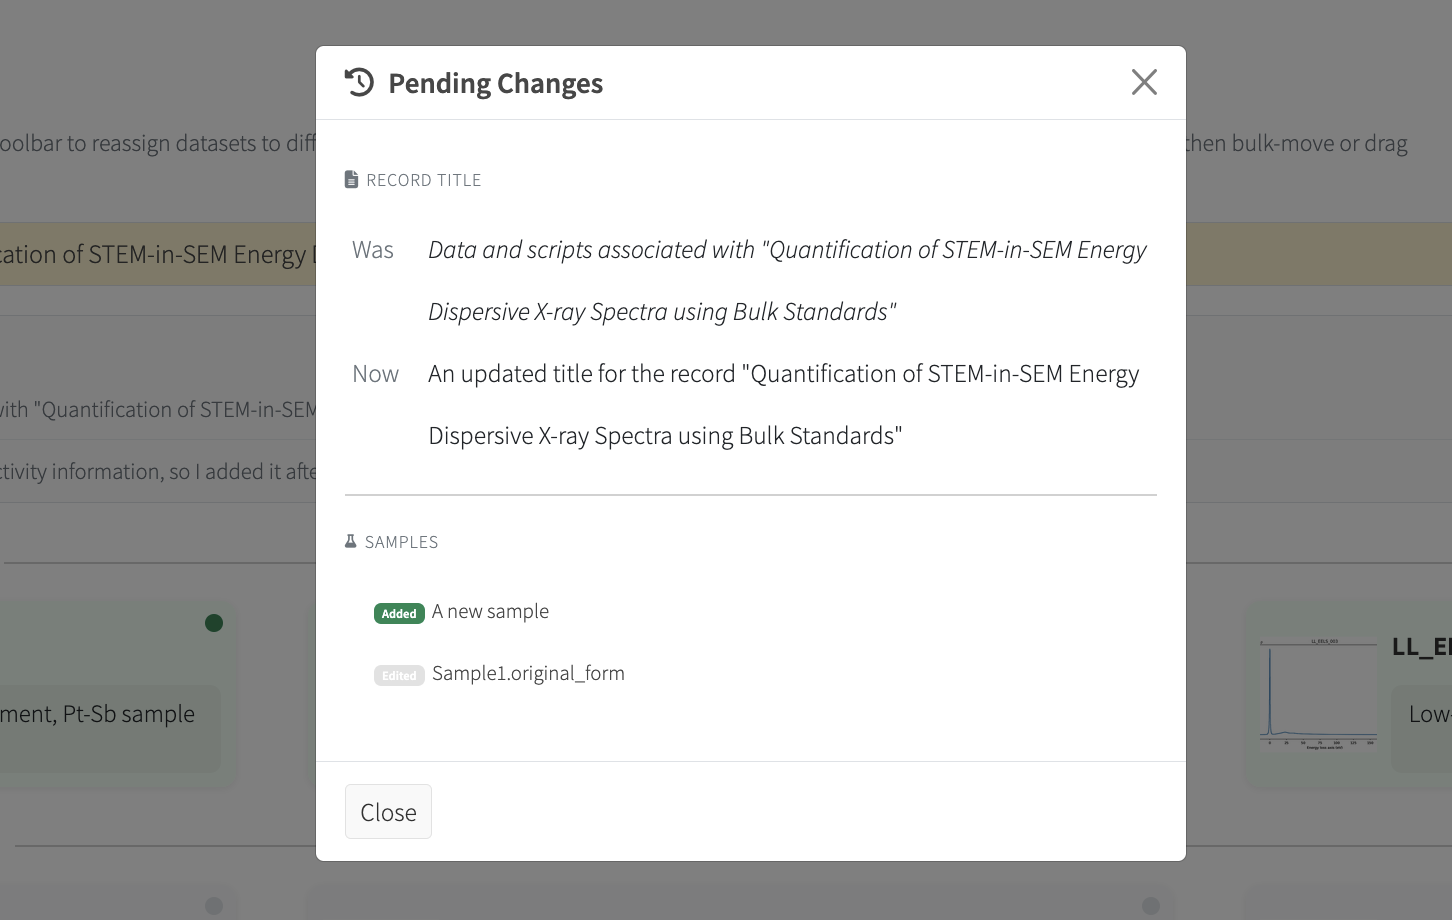
The Pending Changes modal (opened via the toolbar) summarises all unsaved edits before saving or navigating away: title changes, dataset description edits, added or modified samples, dataset moves, and activity changes.#
Dataset Ratings and Featured Status#
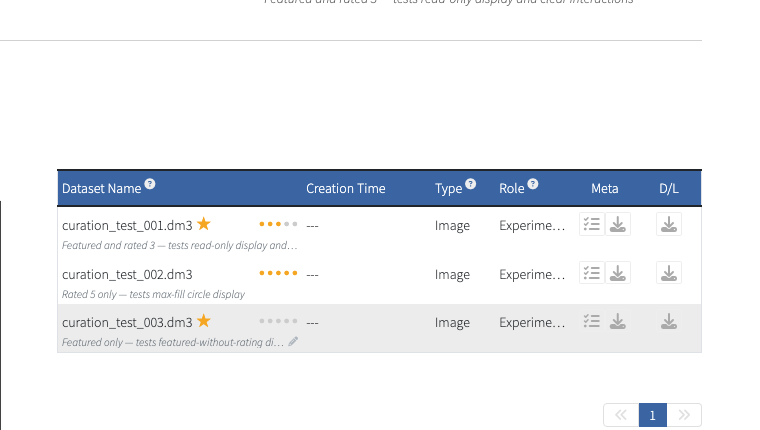
Users with write access can mark a dataset as featured with the star control or rate it from 1 to 5 with the circular rating control. The same controls are available in the Annotate Record panel and save immediately.#
Click the small “x” next to an active rating again to clear it. Featured status and ratings are stored in the
record XML under the dataset’s <curation> element and influence which preview the public
gallery selects for that record.
Multi-Sample Records#
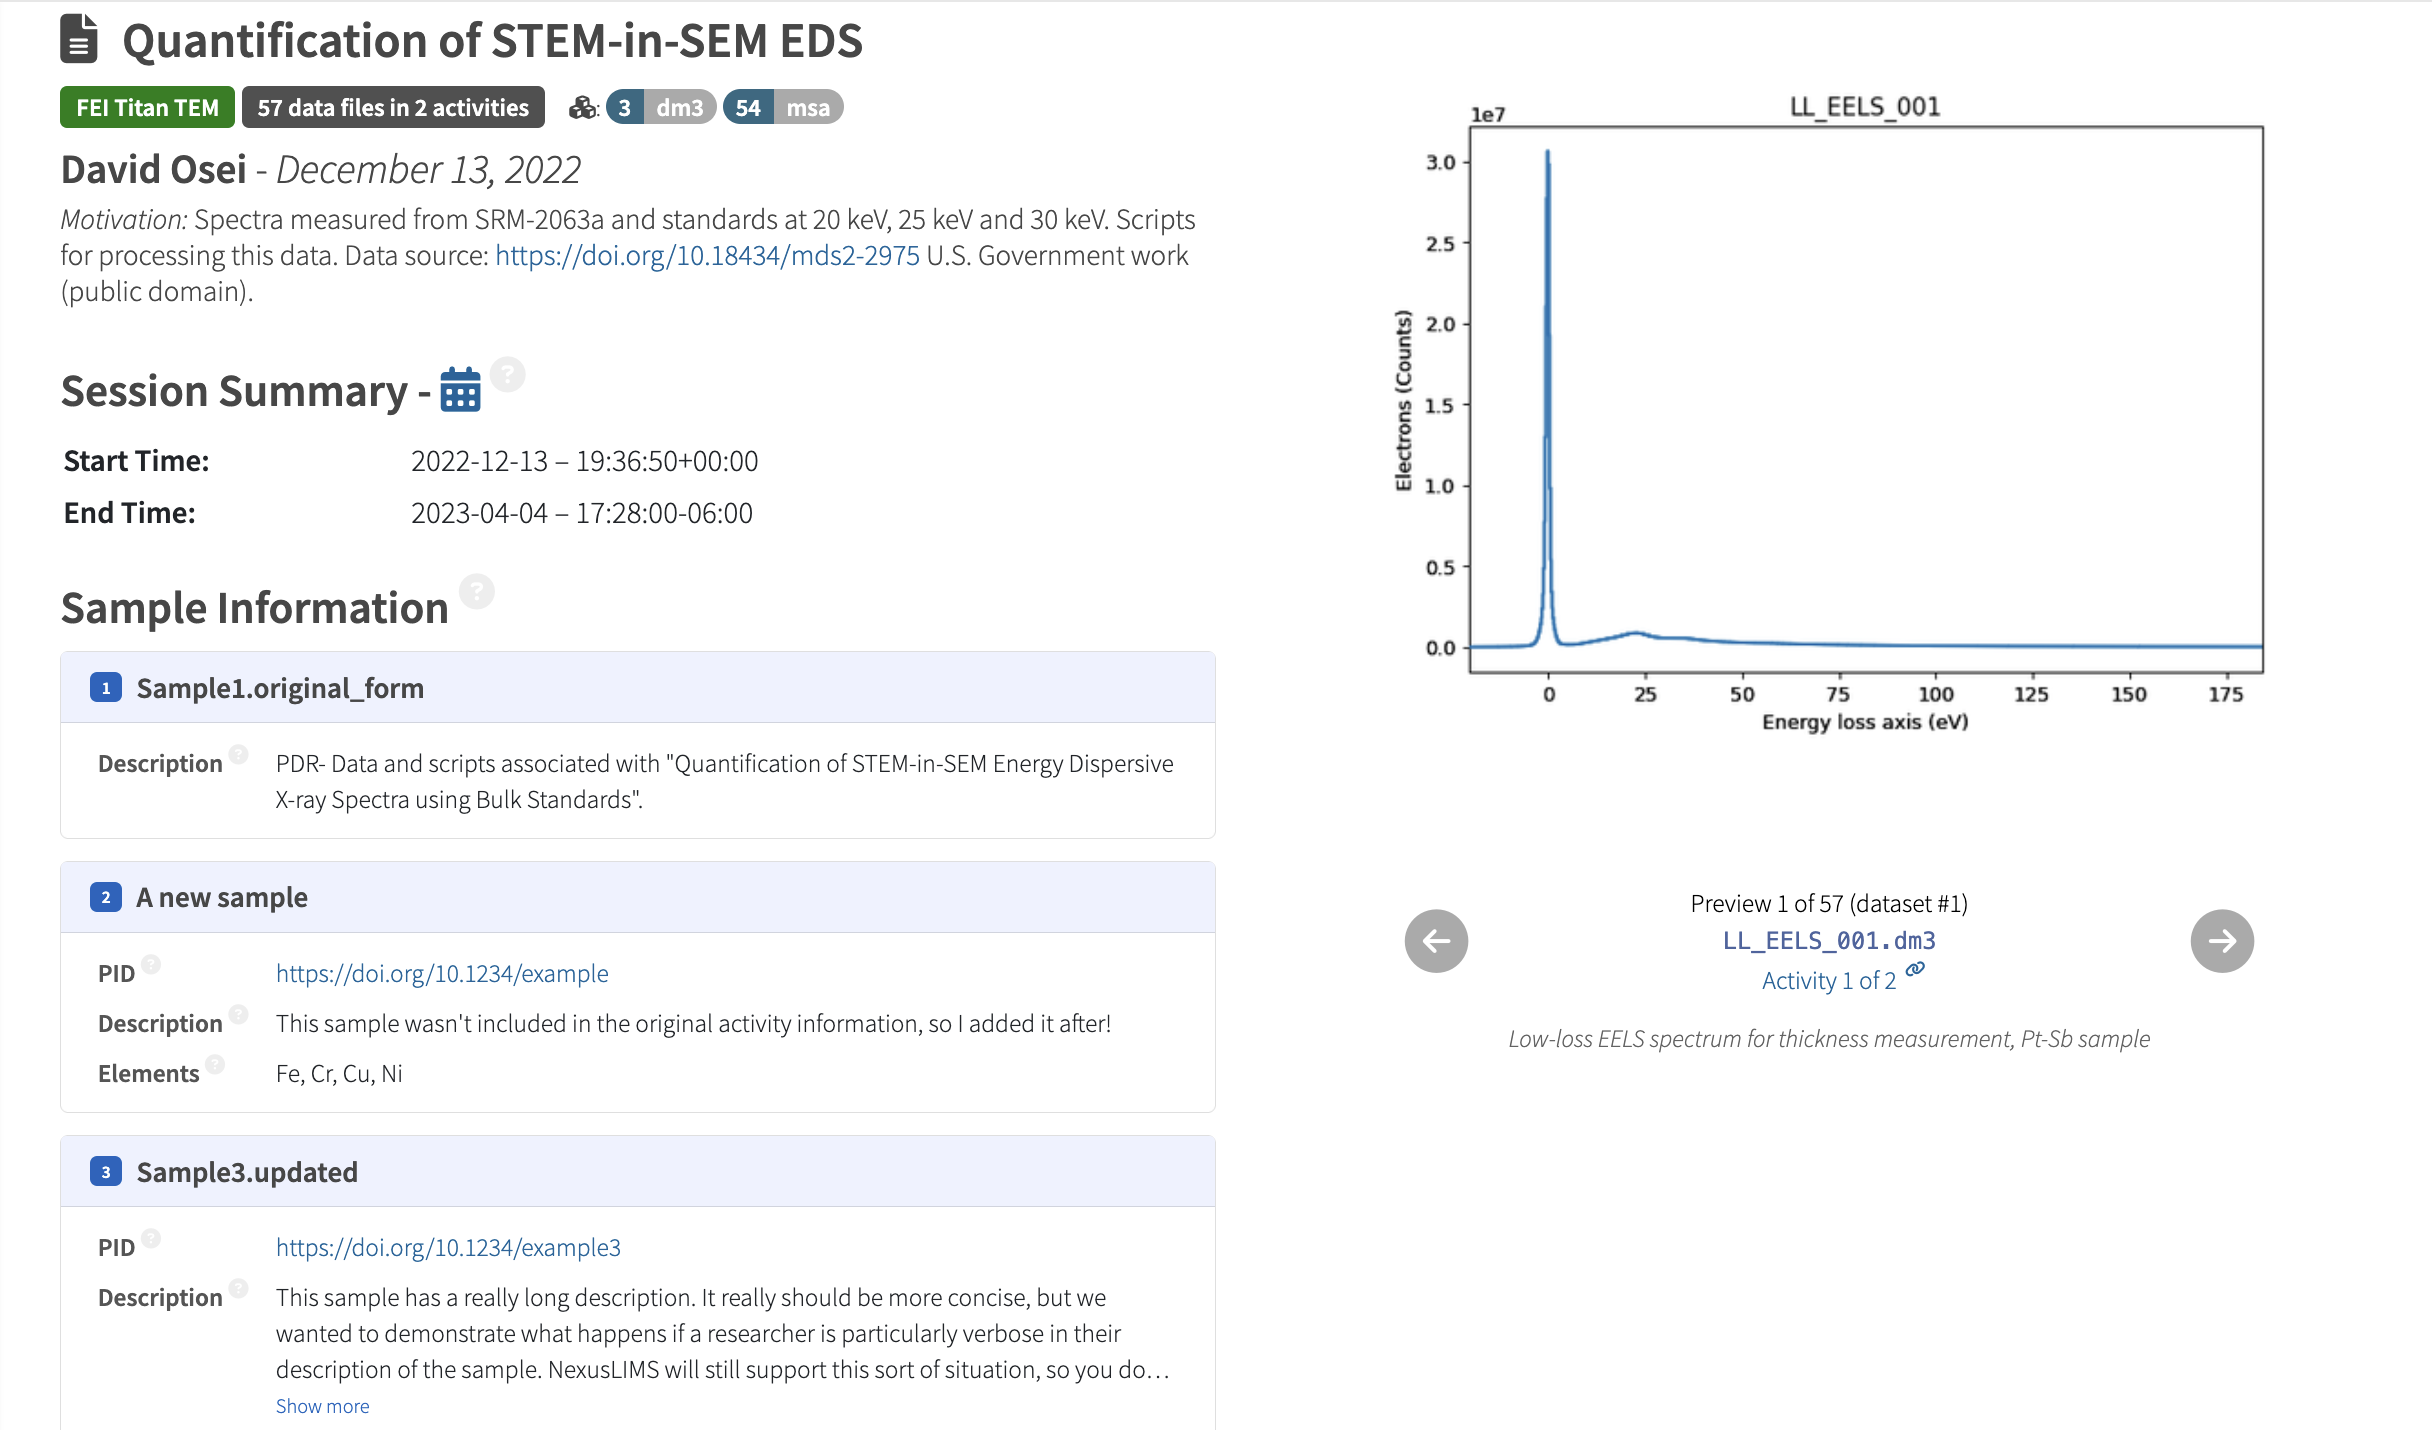
Records with multiple samples display each sample as a Bootstrap card showing its name, persistent identifier (linked if a URL), expandable description, and elemental composition chips. Activity headers carry a linked badge to their associated sample.#
Branding and Customization#
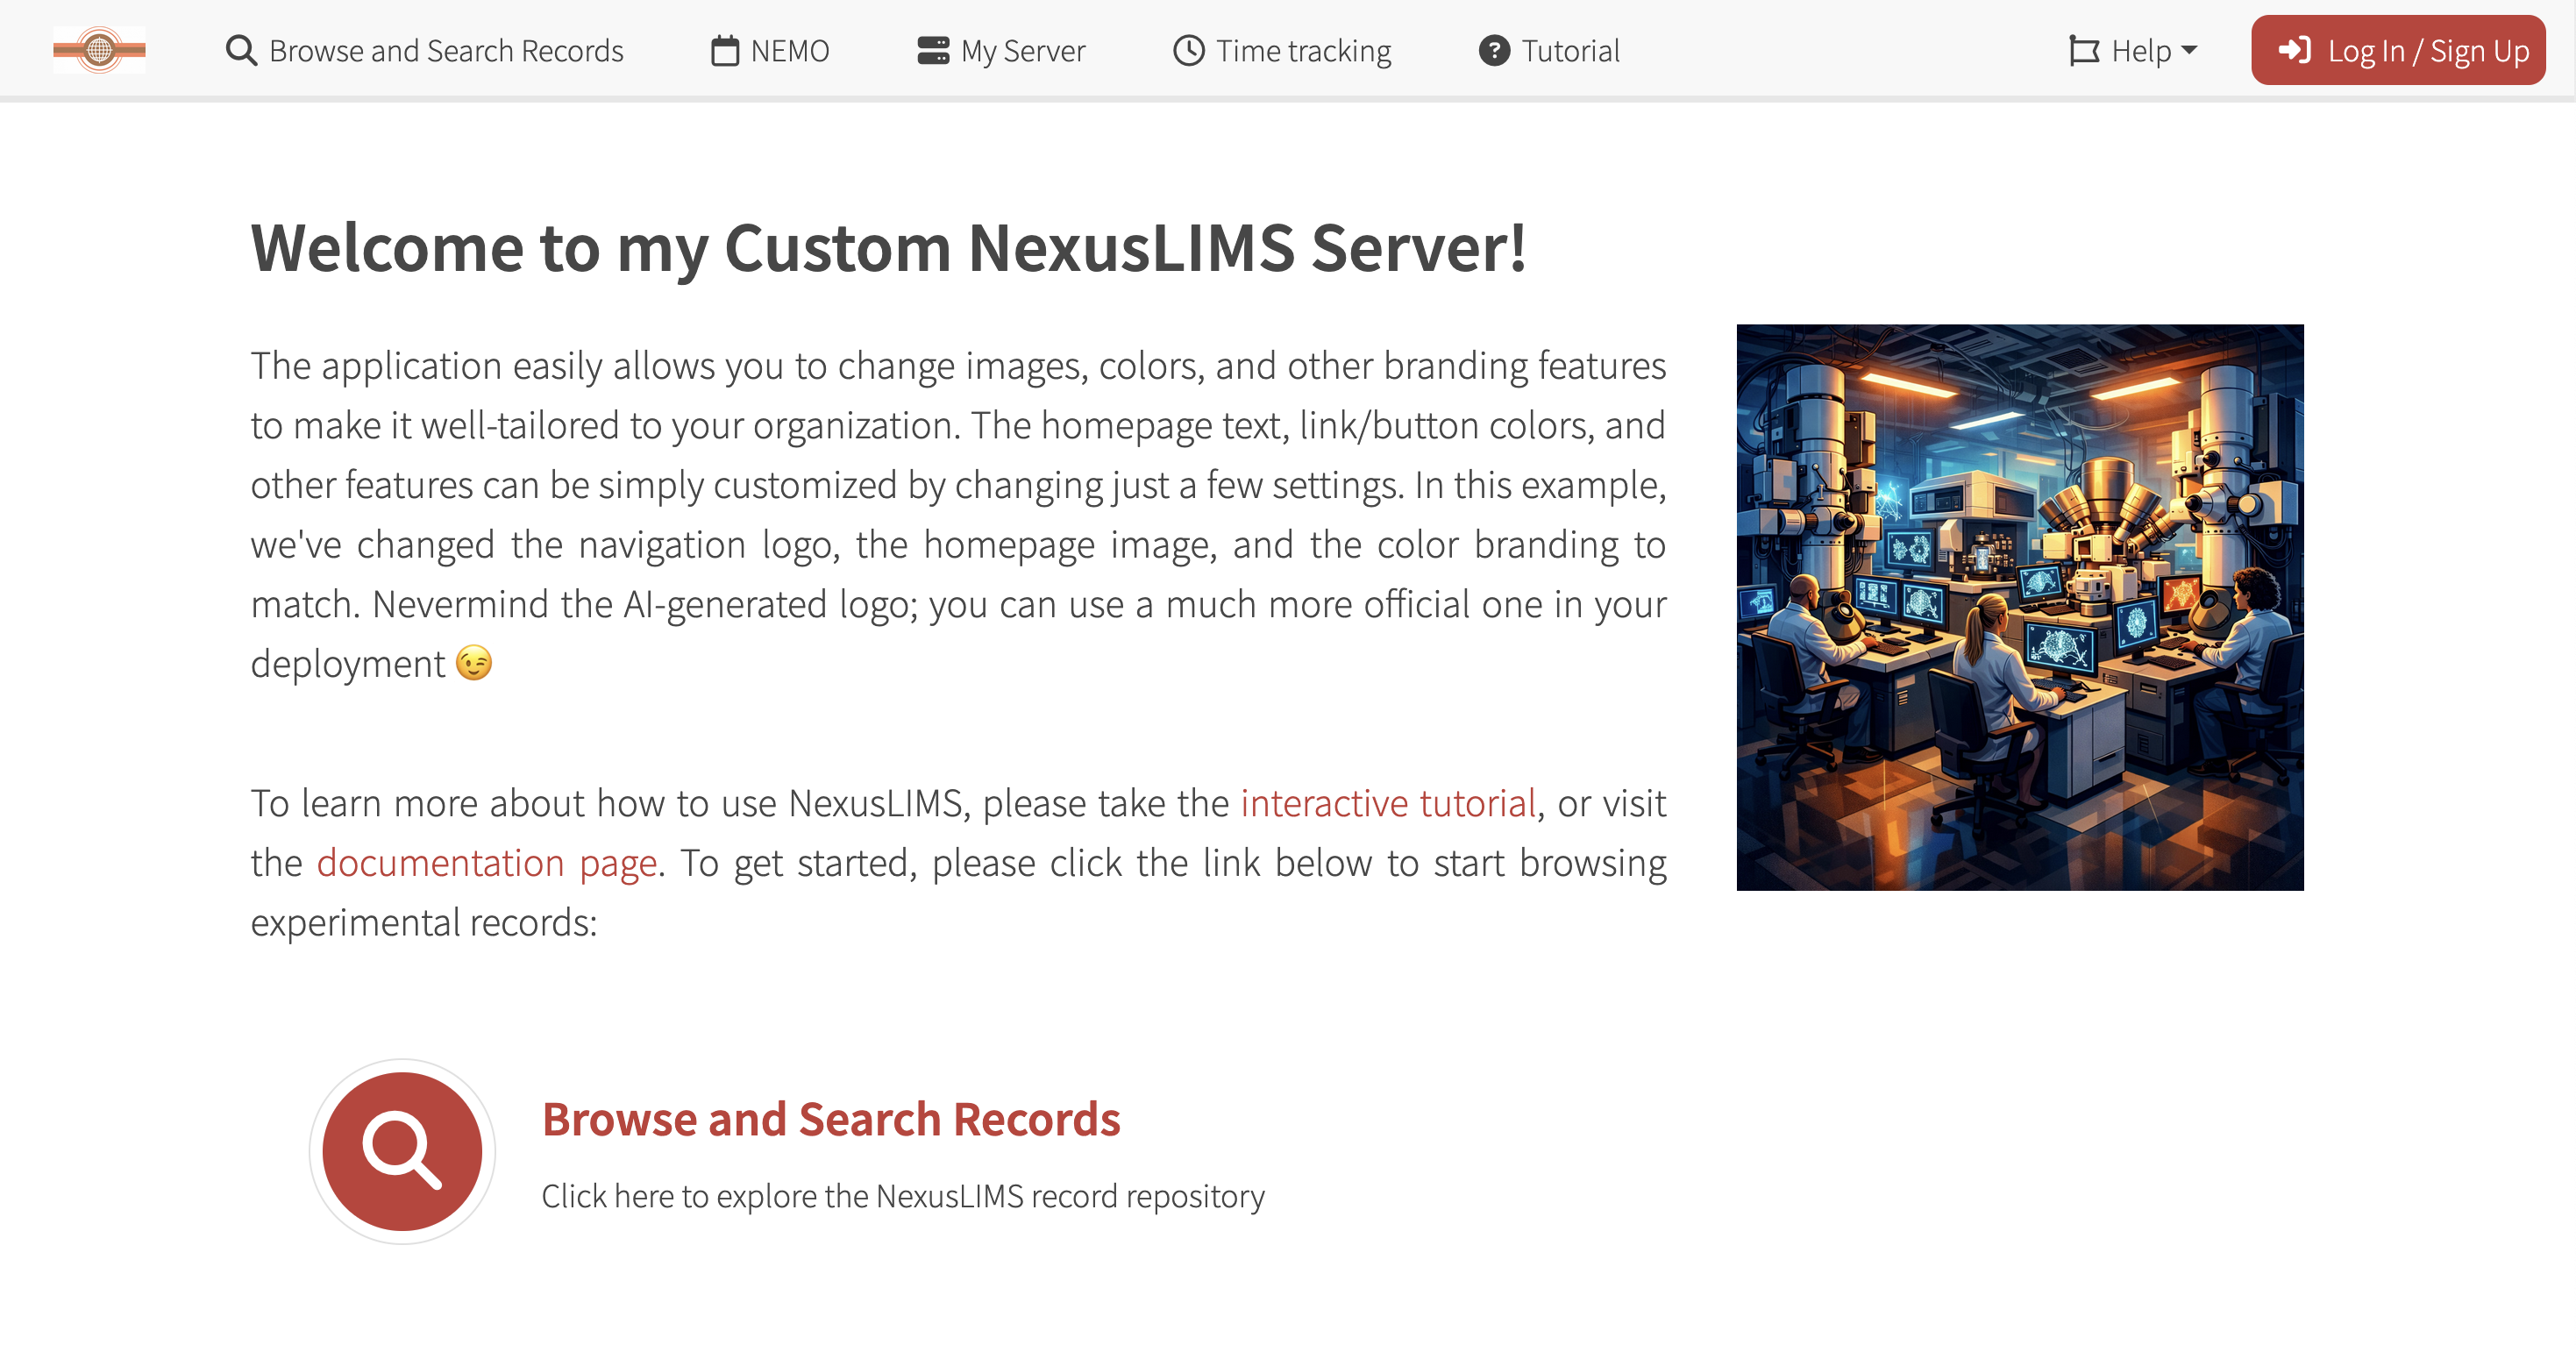
The application can easily be customized (see Branding and Customization for more details).#